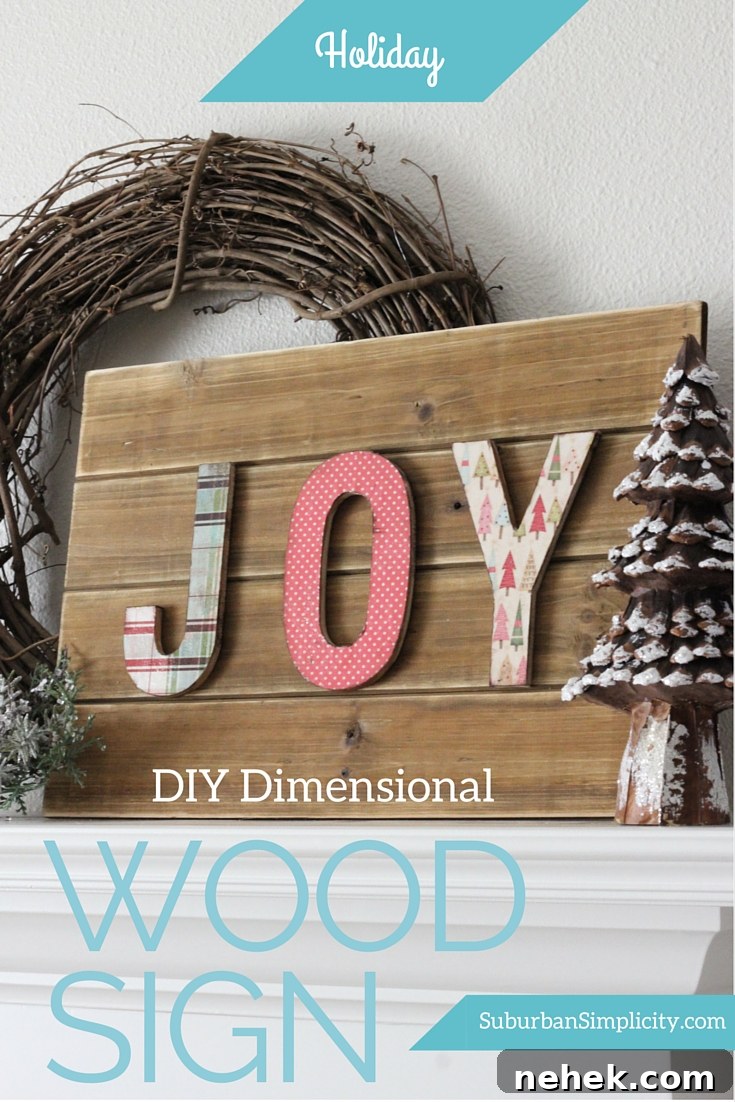
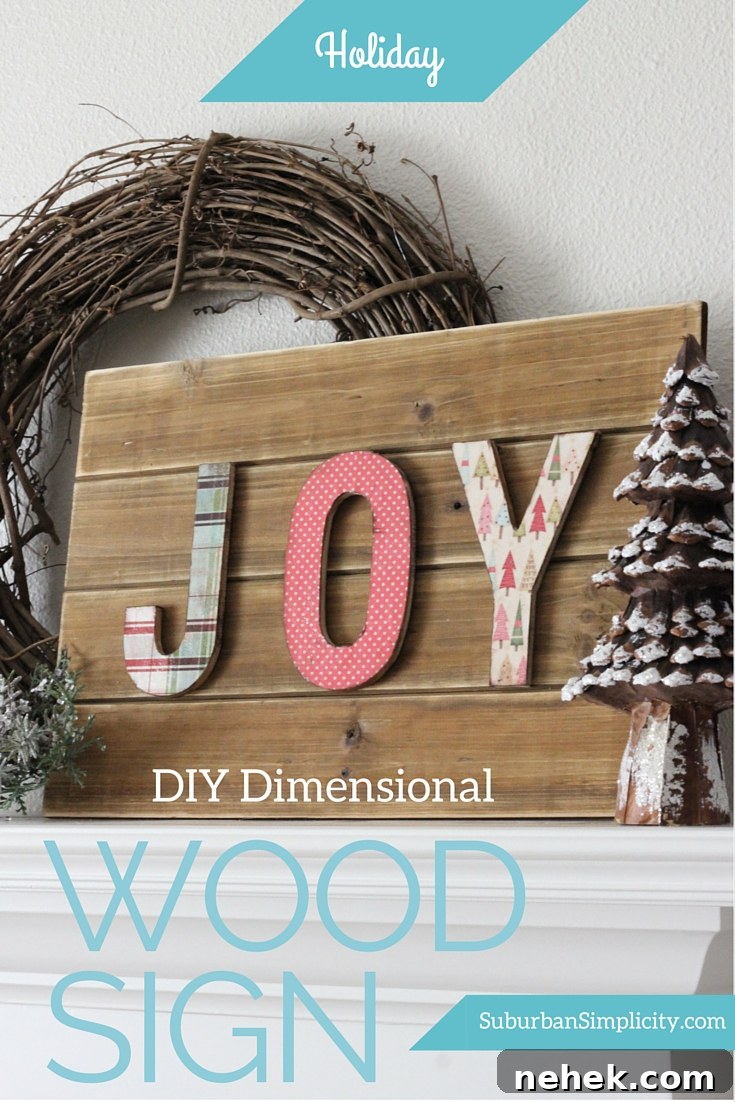
This DIY Dimensional Letter Holiday Sign is simple to create and brings a warm, rustic touch to your Christmas decor. It’s an affordable project that looks handmade and charming, perfect for mantels, entry tables, or a festive gallery wall.
How to Make a Dimensional Letter Holiday Sign
This DIY “Joy” sign is a lovely, low-cost addition to holiday decorating. The finished piece has a handcrafted, rustic feel that complements traditional and modern schemes alike. The project uses a small set of supplies, many of which you may already have, and can be completed in about an hour plus drying time. You can customize the lettering, paper pattern, and embellishments to match your home’s palette or seasonal theme.
If you prefer, use leftover holiday cards, sheet music, kraft paper, or patterned scrapbook paper to personalize the letters. Mixing papers for each letter creates a playful, eclectic look, while a single paper or color keeps the sign clean and cohesive.
With simple steps and short drying intervals, this project is friendly for crafters of all levels. Below is a clear materials list and step-by-step process, along with a few tips to make the result durable and attractive.
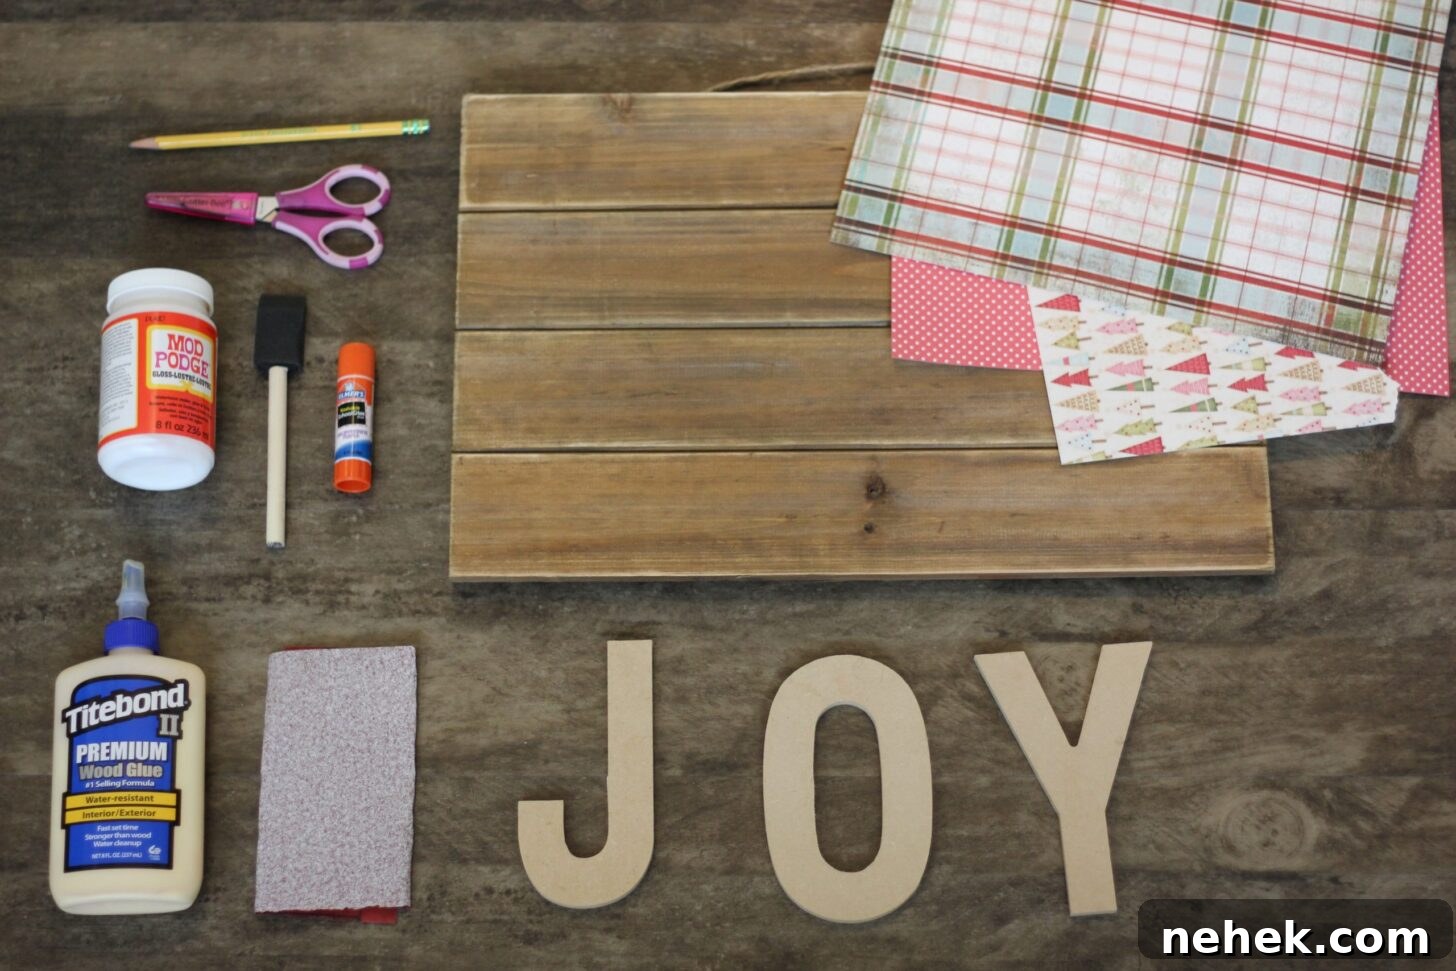
JOY Holiday Sign Supplies:
- Wood sign (prefabricated or built from scrap wood or pallets)
- Dimensional letters (wood or chipboard)
- Scrapbook paper, old holiday cards, or patterned paper
- Wood glue or strong craft glue
- Scissors or craft knife
- Pencil
- Fine-grit sandpaper
- Mod Podge or clear decoupage sealer
- Paint brush or foam brush
- Glue stick (optional, for temporary positioning)
Step 1 – Prepare the Wood Surface
Lightly sand the wood sign to remove any rough spots and to help the glue adhere better. If the sign already has an attractive finish, you can skip aggressive sanding and simply wipe away dust. Sanding also creates a slightly distressed surface that enhances a rustic aesthetic.
Step 2 – Trace and Cut Paper for Letters
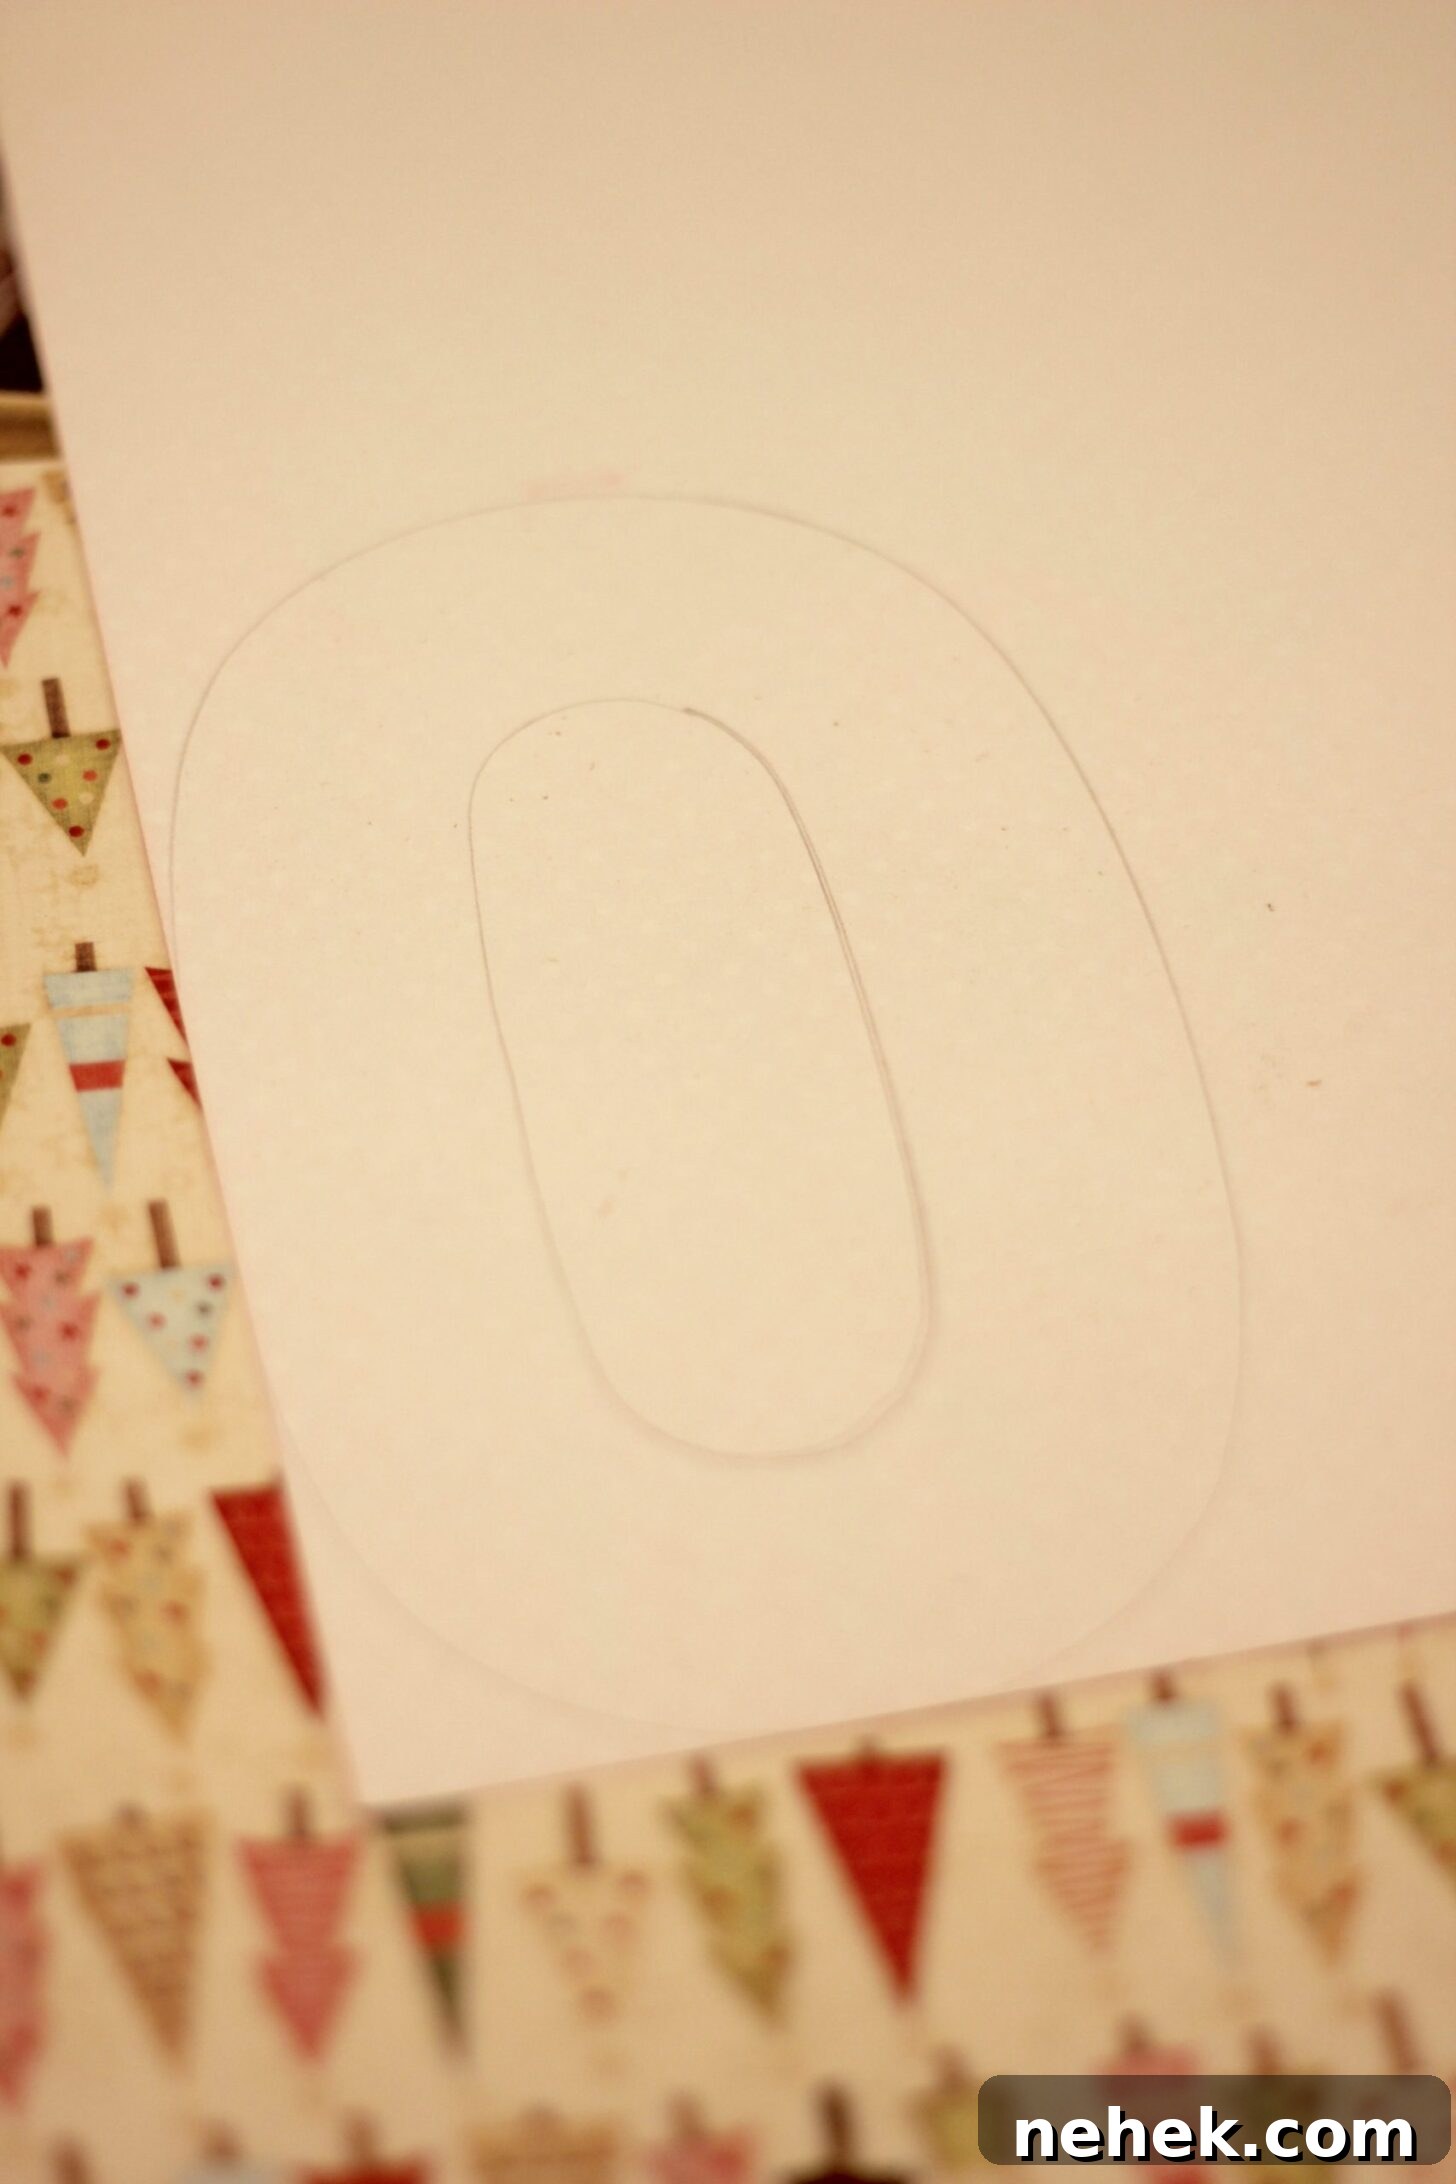
Place each dimensional letter onto your chosen paper and trace around it with a pencil. Cut the traced shapes carefully with scissors or a craft knife for clean edges. If the letters are large or detailed, a craft knife will give a more precise cut. Use a glue stick to temporarily hold the paper in place on the letters before applying permanent glue.
Step 3 – Seal the Paper with Mod Podge
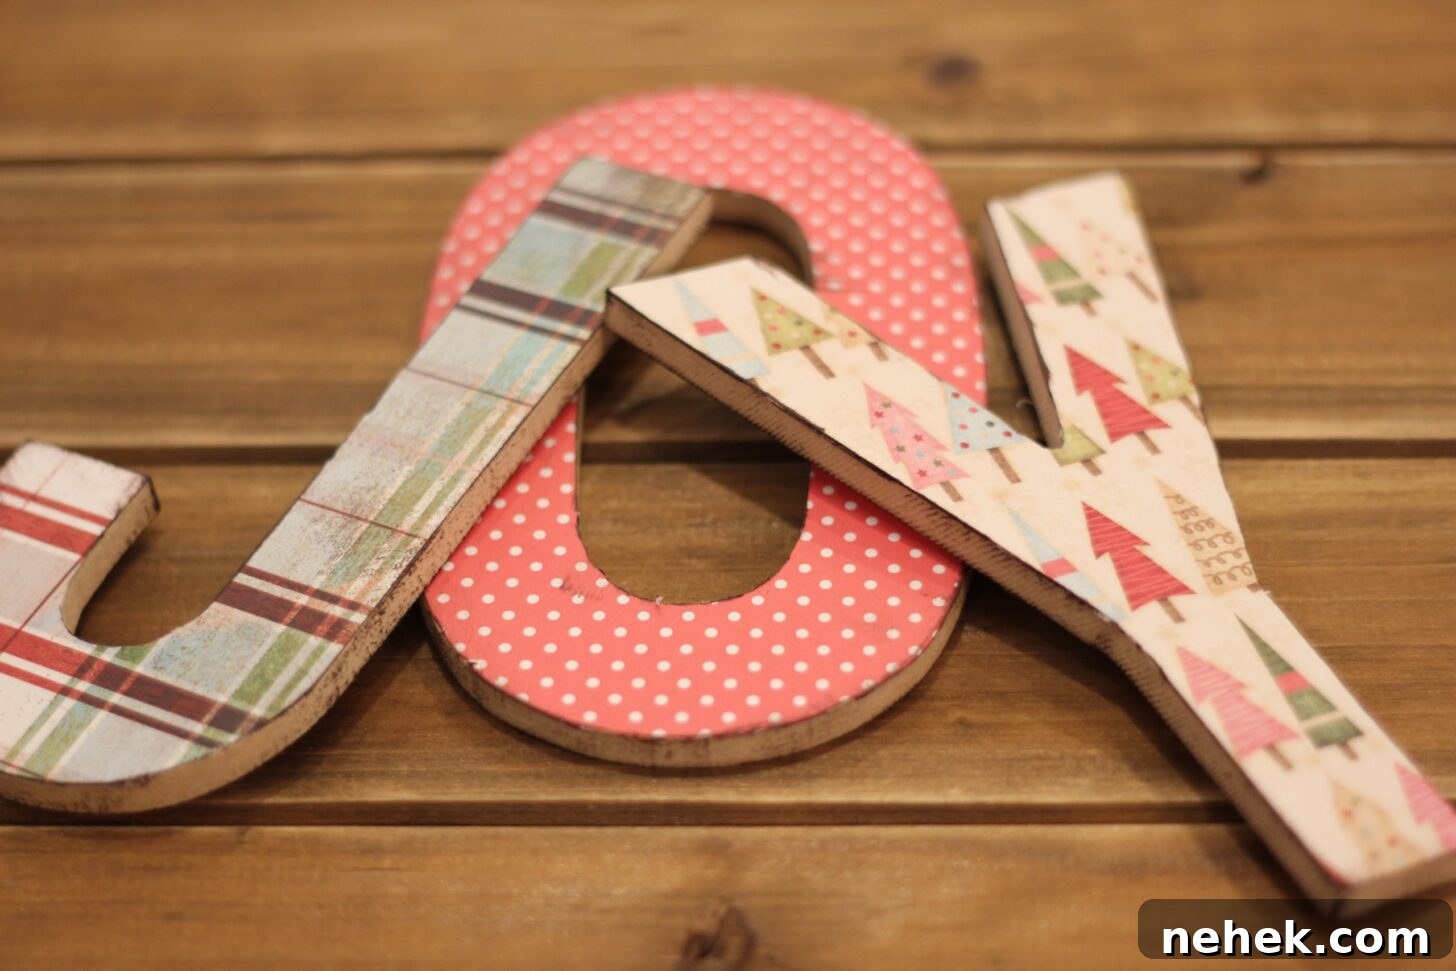
Brush 2–3 thin coats of Mod Podge over the paper-covered letters, allowing about 10–15 minutes of drying time between coats. Thin, even layers prevent bubbling and wrinkling. After the final coat dries, lightly sand the edges with fine-grit sandpaper to smooth any rough seams and create a professional finish.
Step 4 – Attach the Letters
Arrange the letters on the wood sign until you’re happy with the spacing and alignment. Apply wood glue or a strong craft glue to the back of each dimensional letter and press firmly into place. Use a ruler or straight edge to ensure the word sits level. Wipe away any excess glue immediately and allow the glue to dry according to the manufacturer’s instructions.
Step 5 – Embellish and Finish
Add finishing touches like small wooden stars, faux greenery, ribbon, or glitter accents if desired. A light dusting of metallic paint on the letter edges or a thin ribbon along the top of the sign can elevate the look. Once all embellishments are secure and dry, your sign is ready to display.
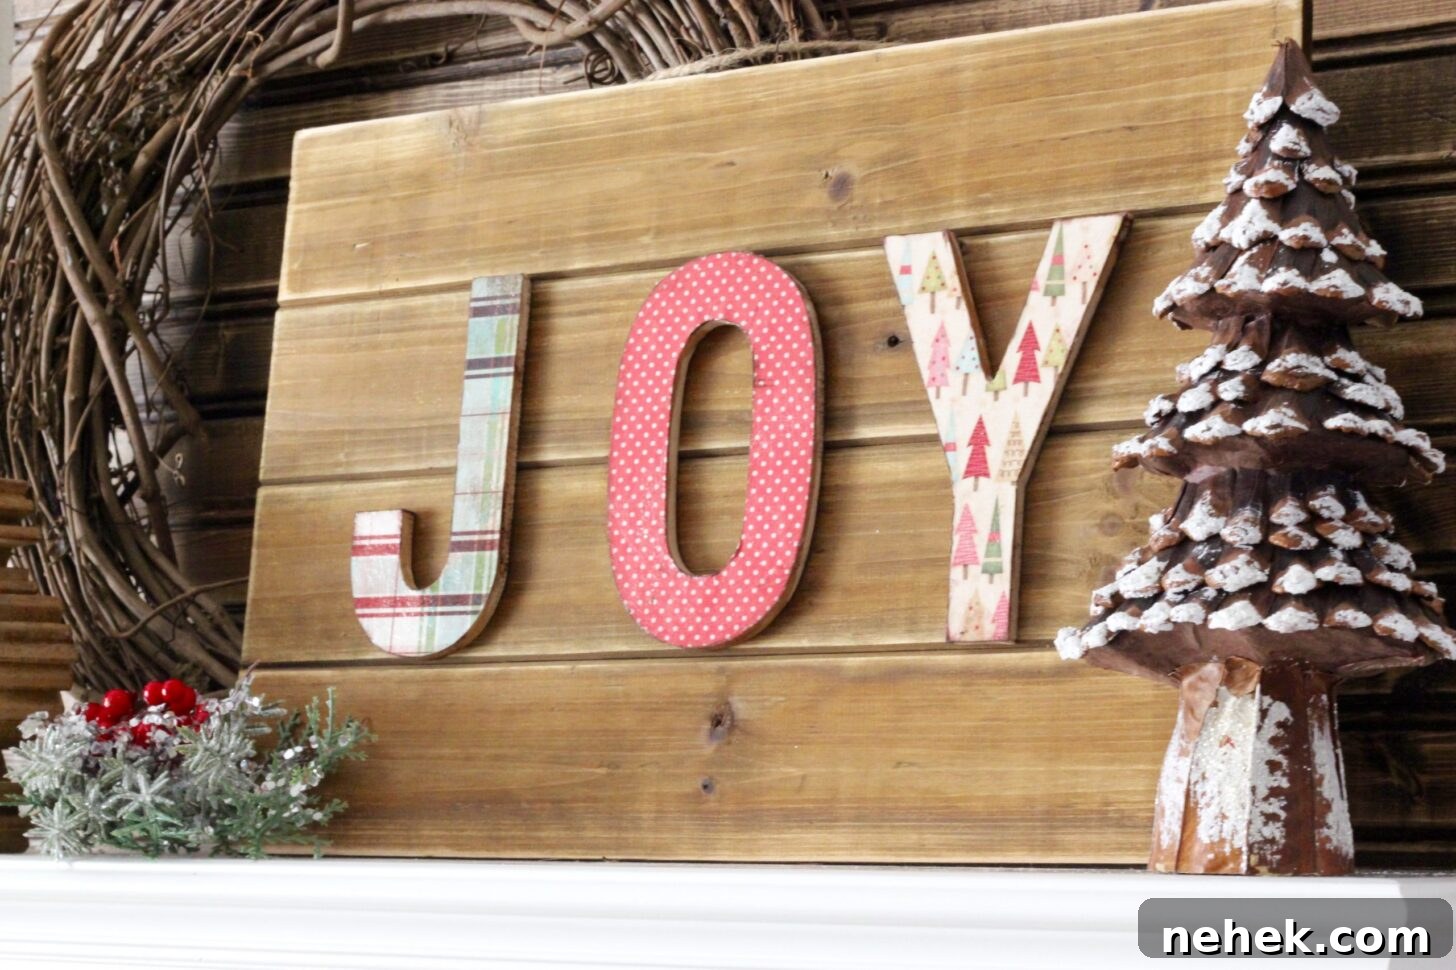
Place your dimensional letter holiday sign on a mantel, console table, or hang it on a wall. The sign makes a charming focal point for seasonal vignettes and pairs well with candles, garlands, and framed holiday prints. Enjoy the warm, handmade character it brings to your home, and feel free to try different words, sizes, and papers to create a whole collection of seasonal signs.
You May Also Like: