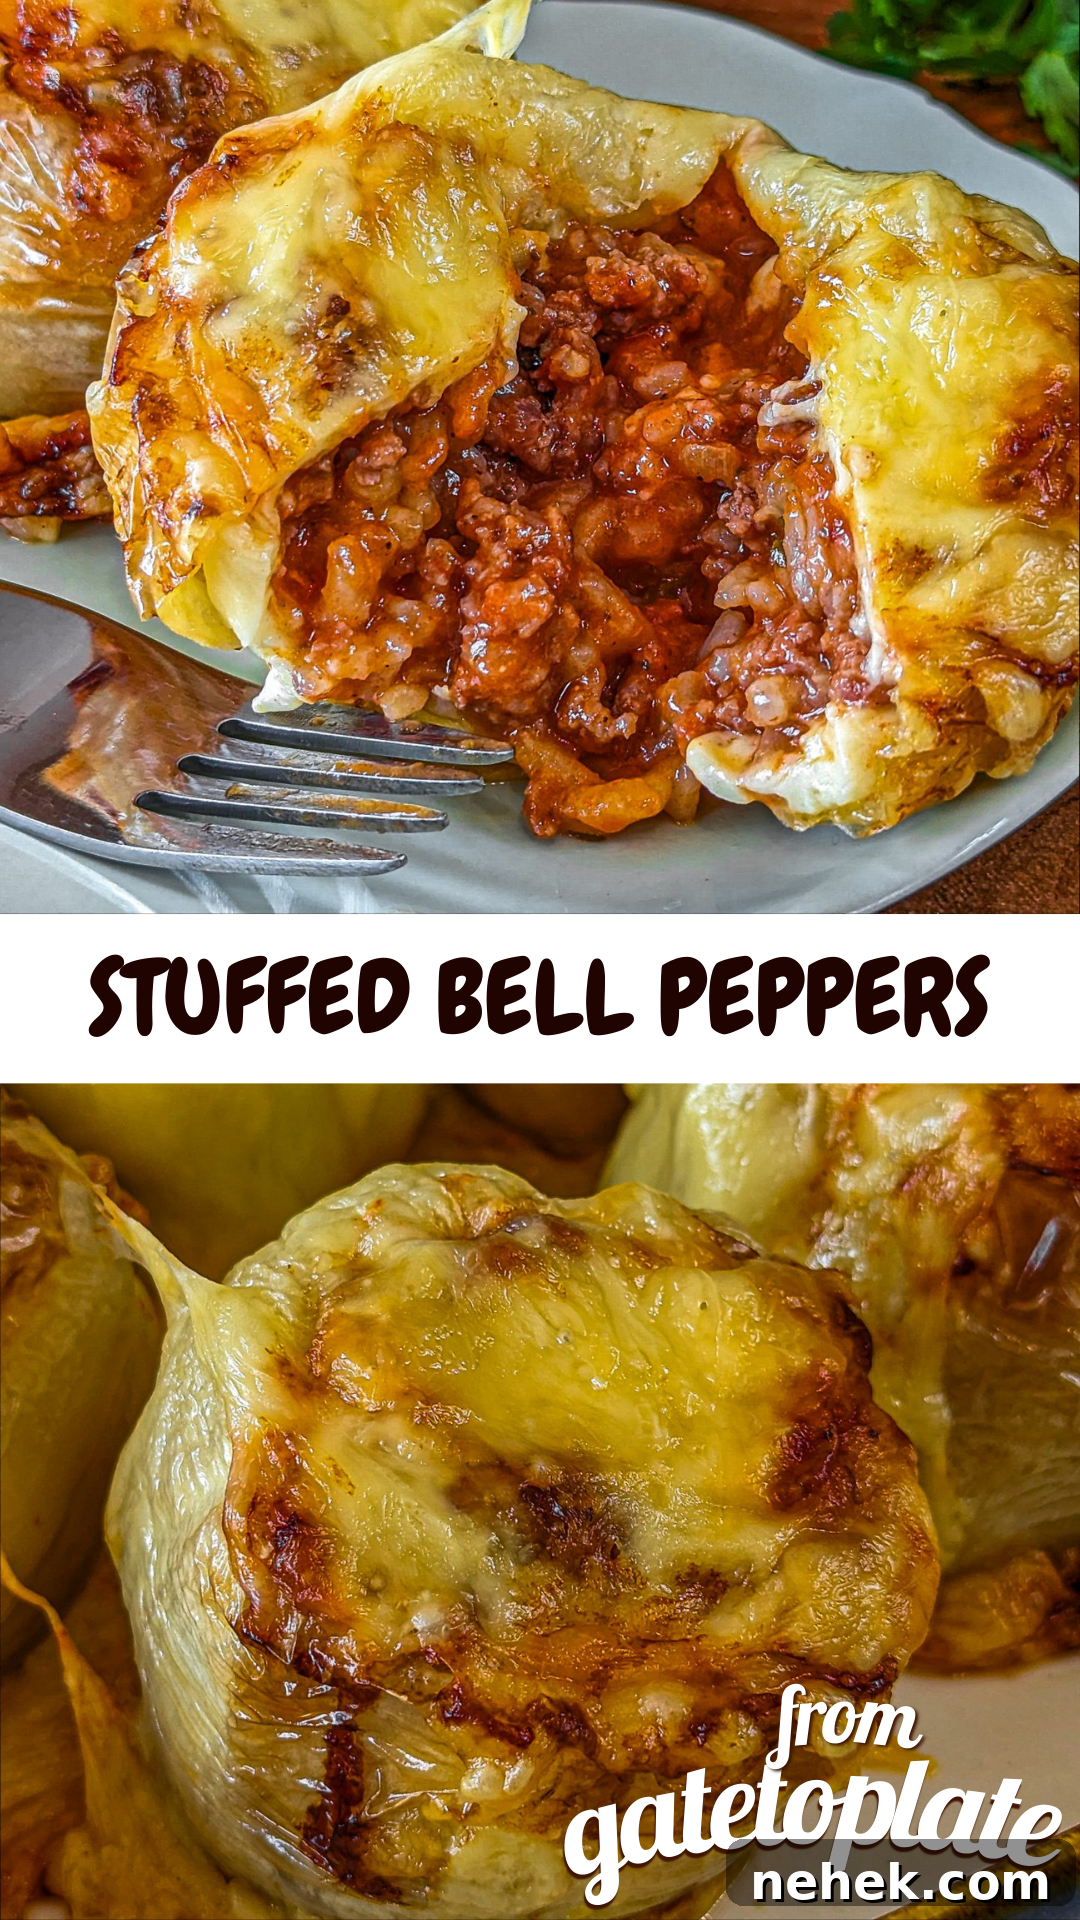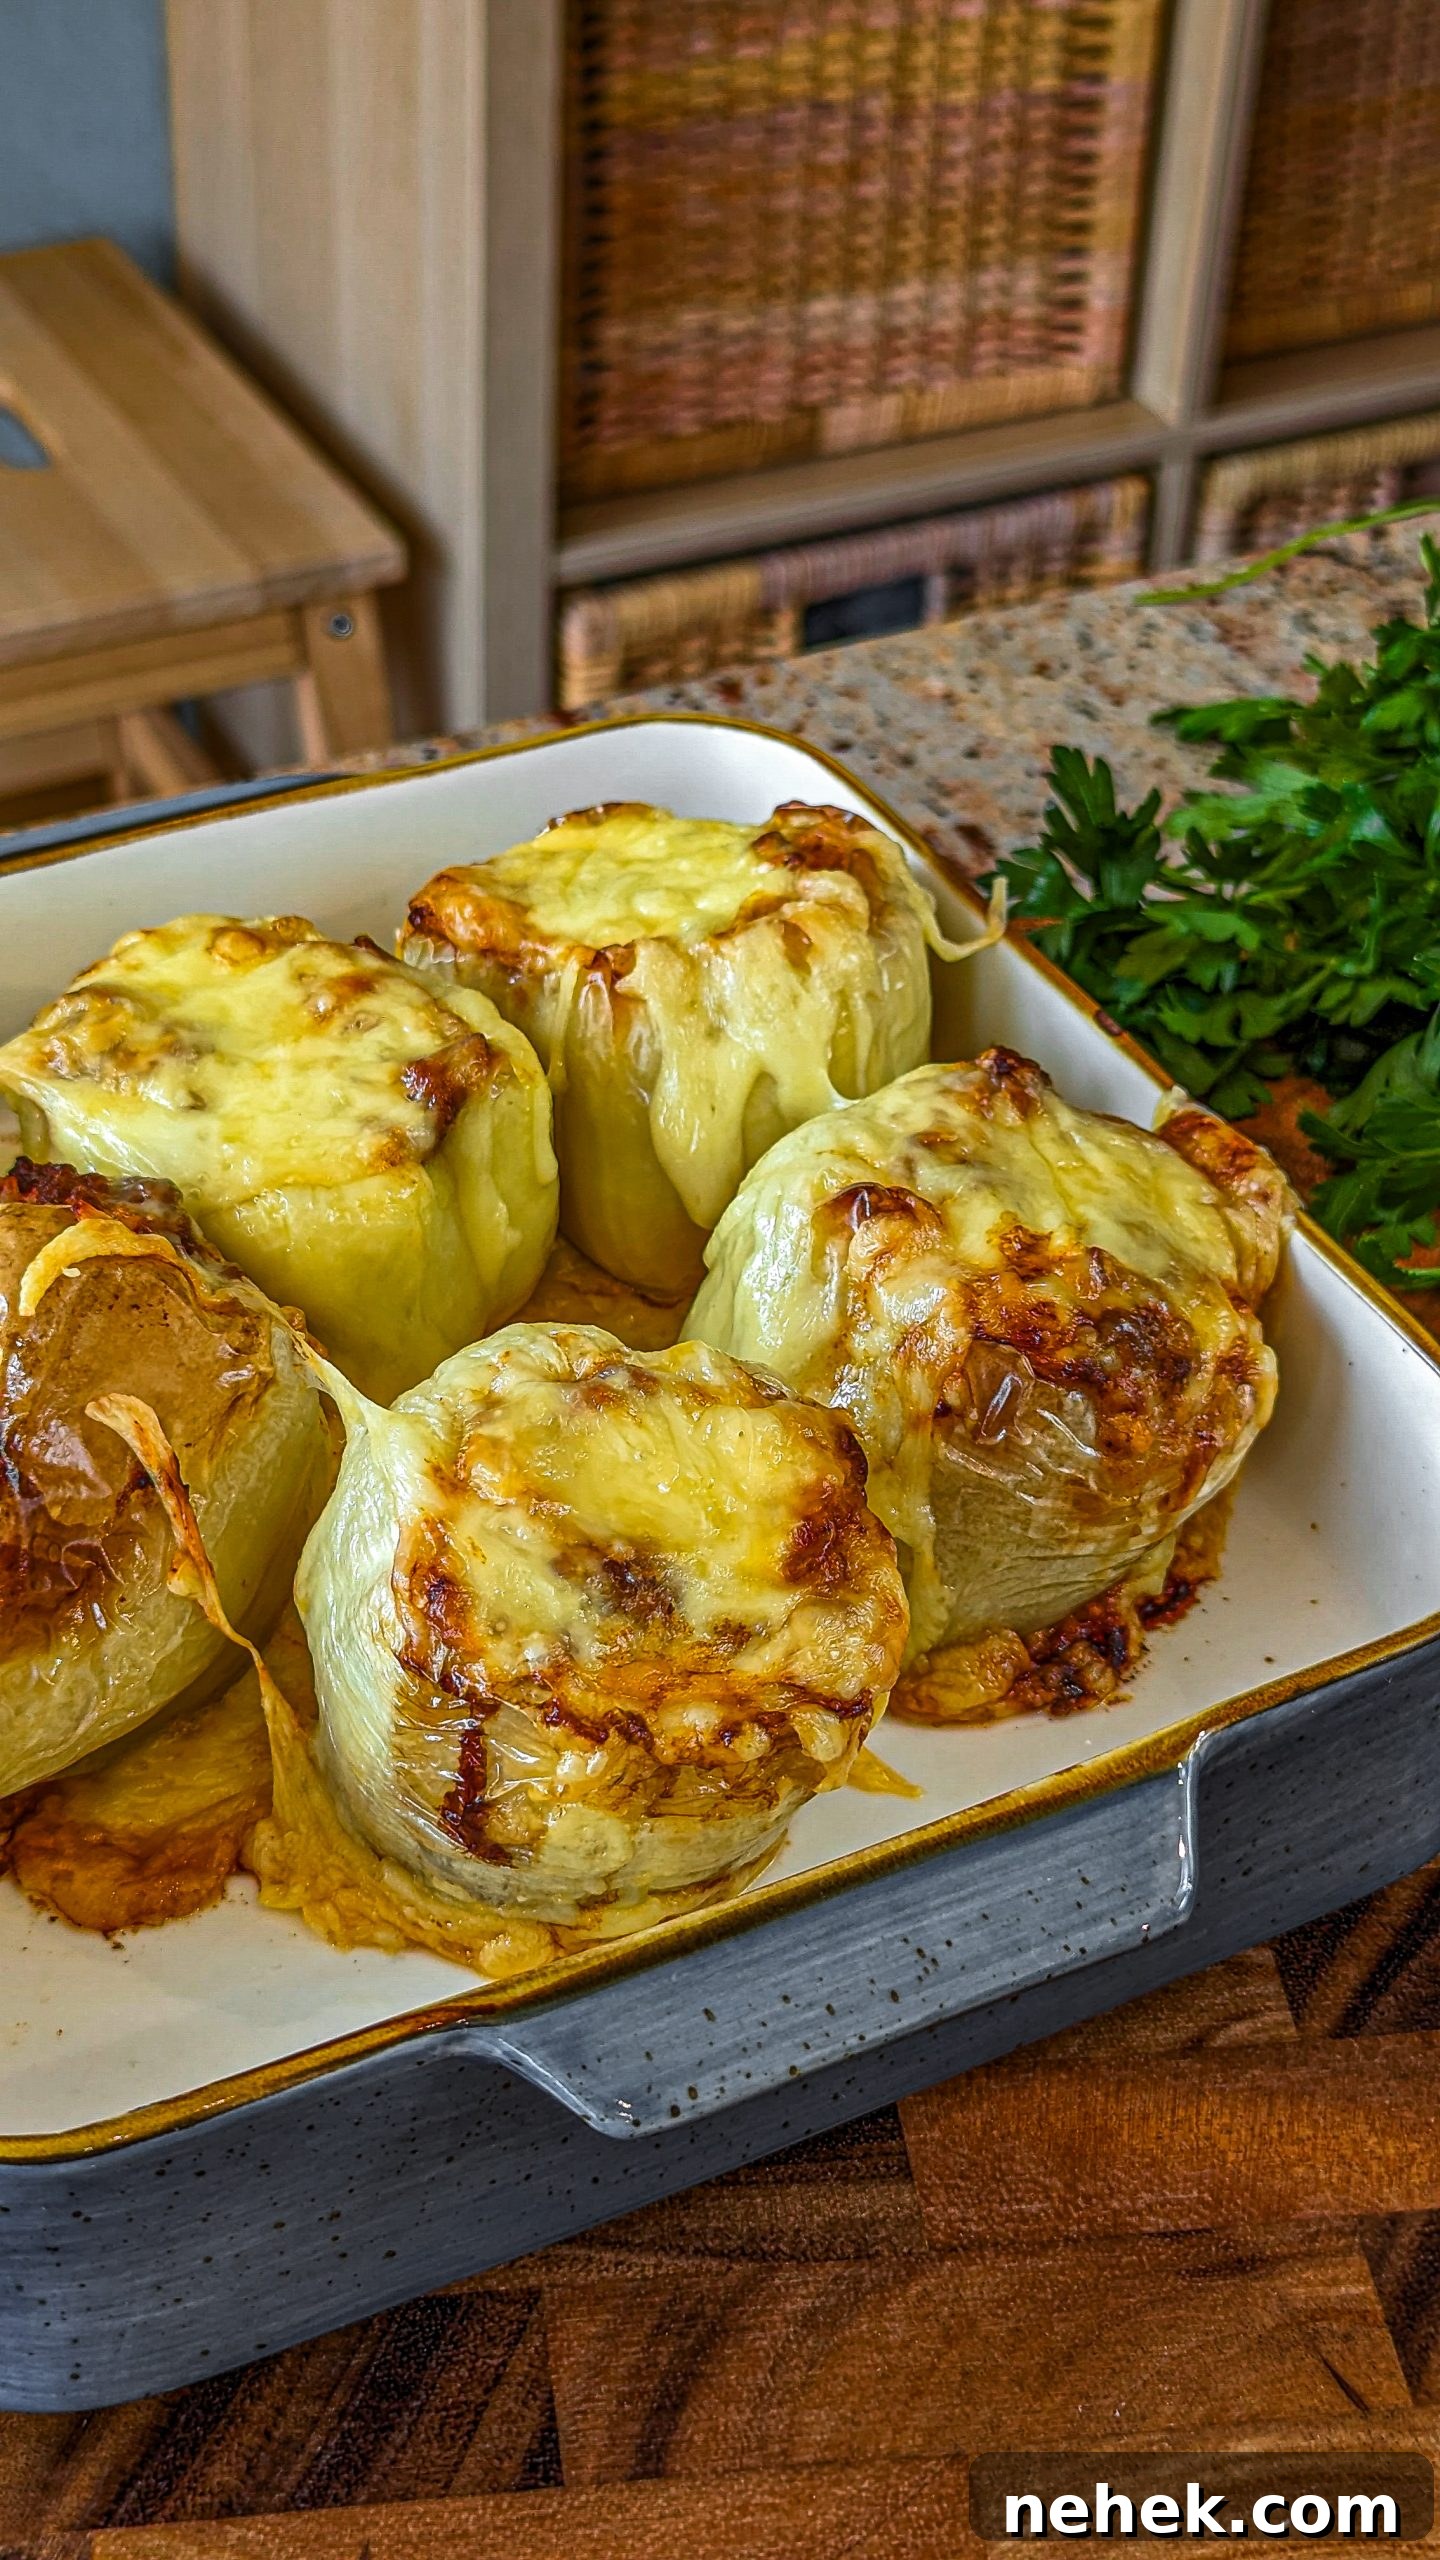
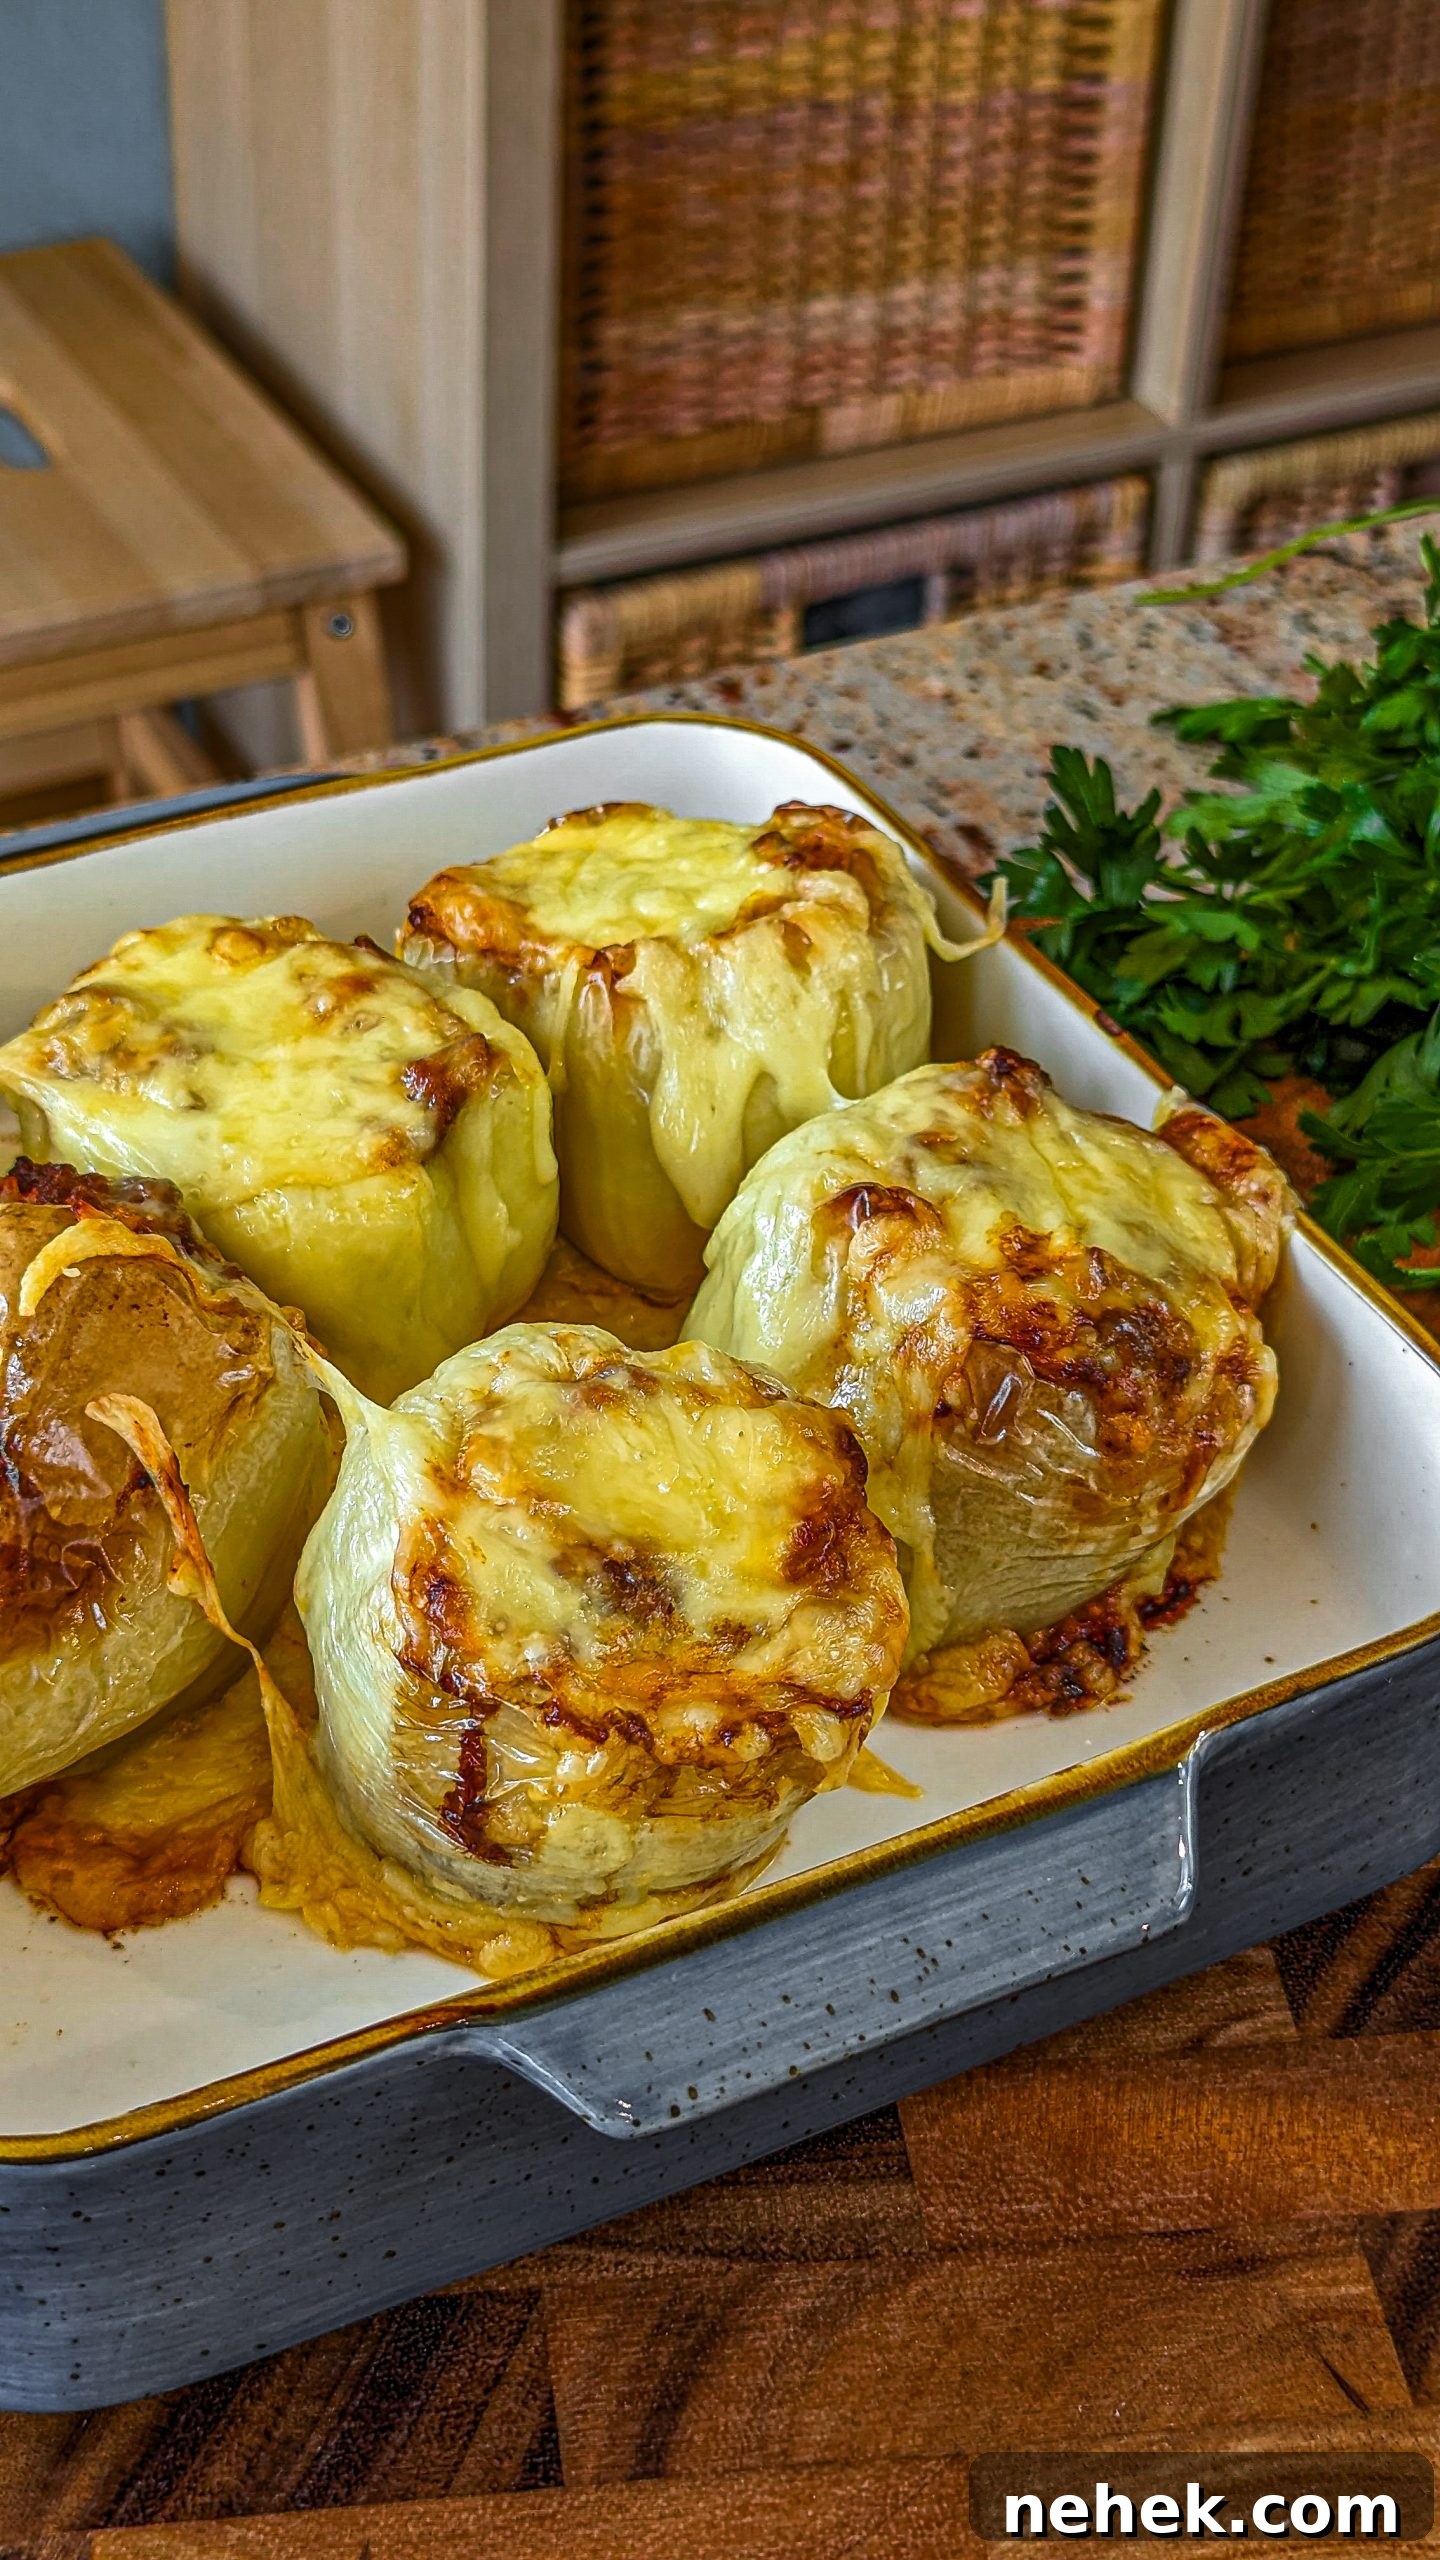
Do you enjoy making stuffed bell peppers, like perhaps your mother or grandmother did? Stuffed bell peppers are a timeless, multigenerational favorite. When you need a simple but impressive dinner, a few bell peppers, ground beef, rice, and seasonings are all you need to create a colorful, satisfying meal that comes together quickly.
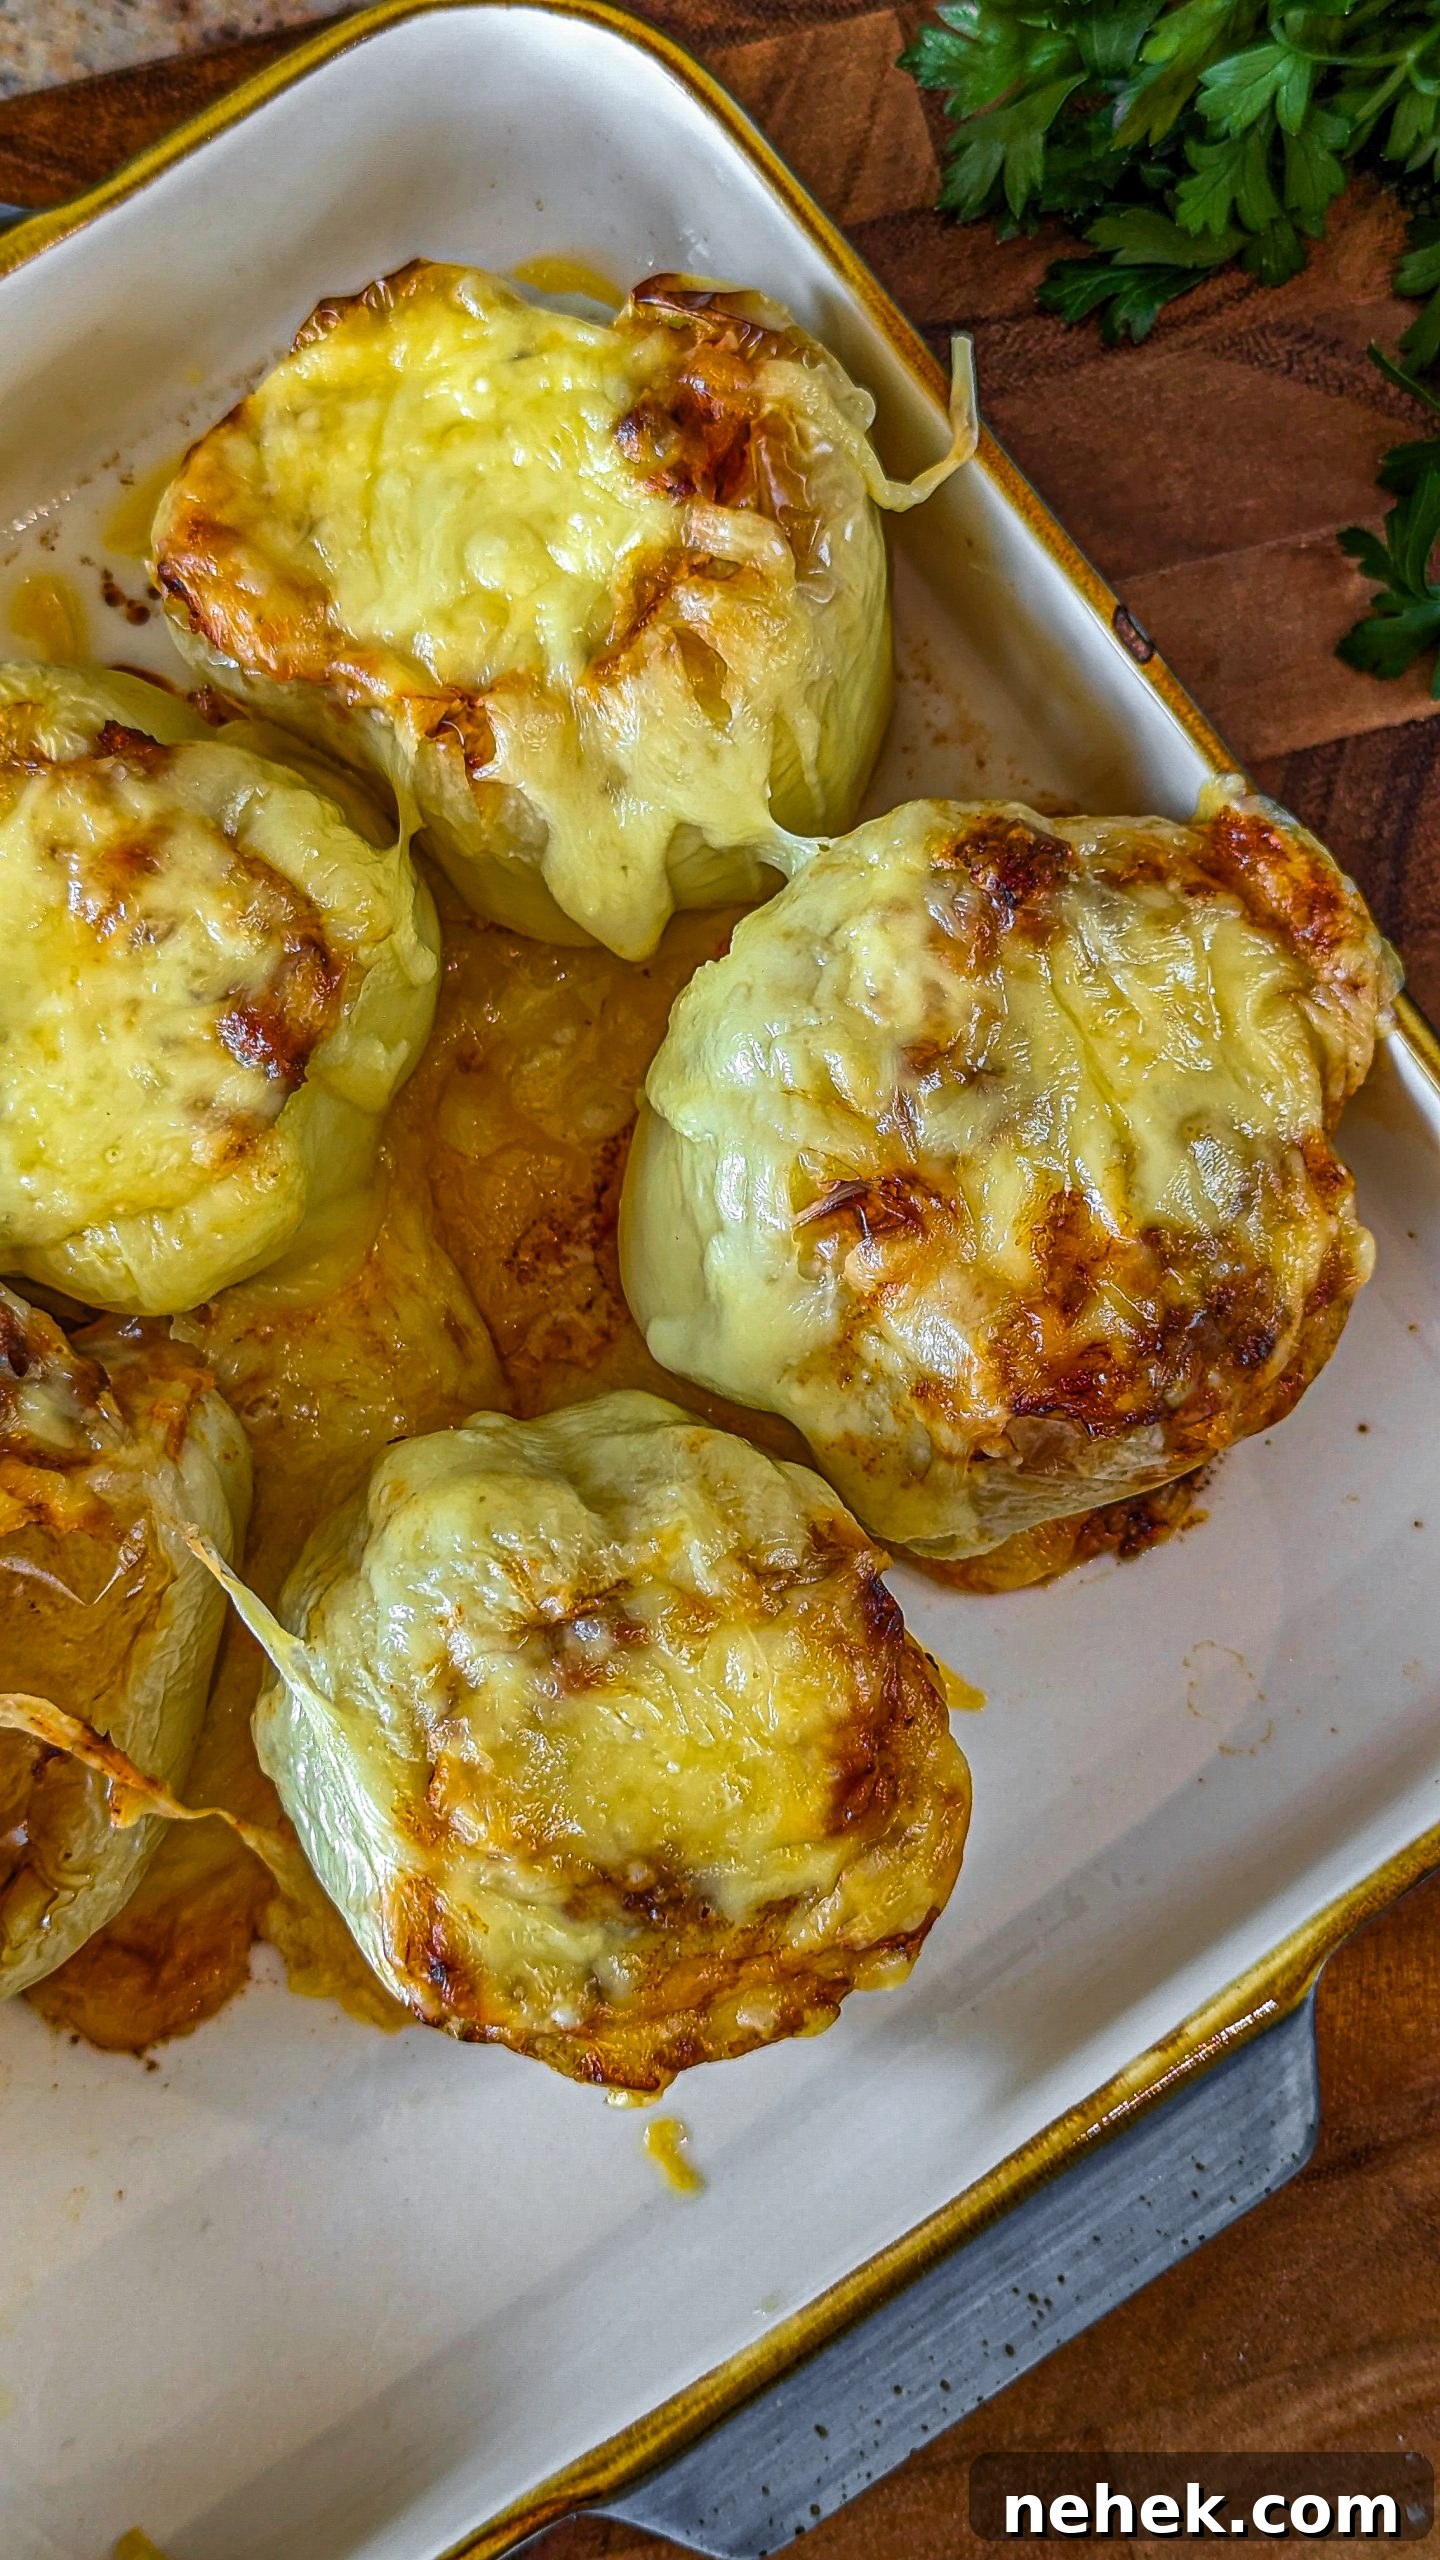
Pick whichever color peppers you prefer — yellow and red are sweeter, orange sits in between, and green is more savory. Choose peppers with flat bottoms so they stand upright in the baking dish, or mix colors so everyone can pick their favorite. This recipe is flexible: you can add leftover vegetables to the filling or swap ingredients to suit what you have on hand.
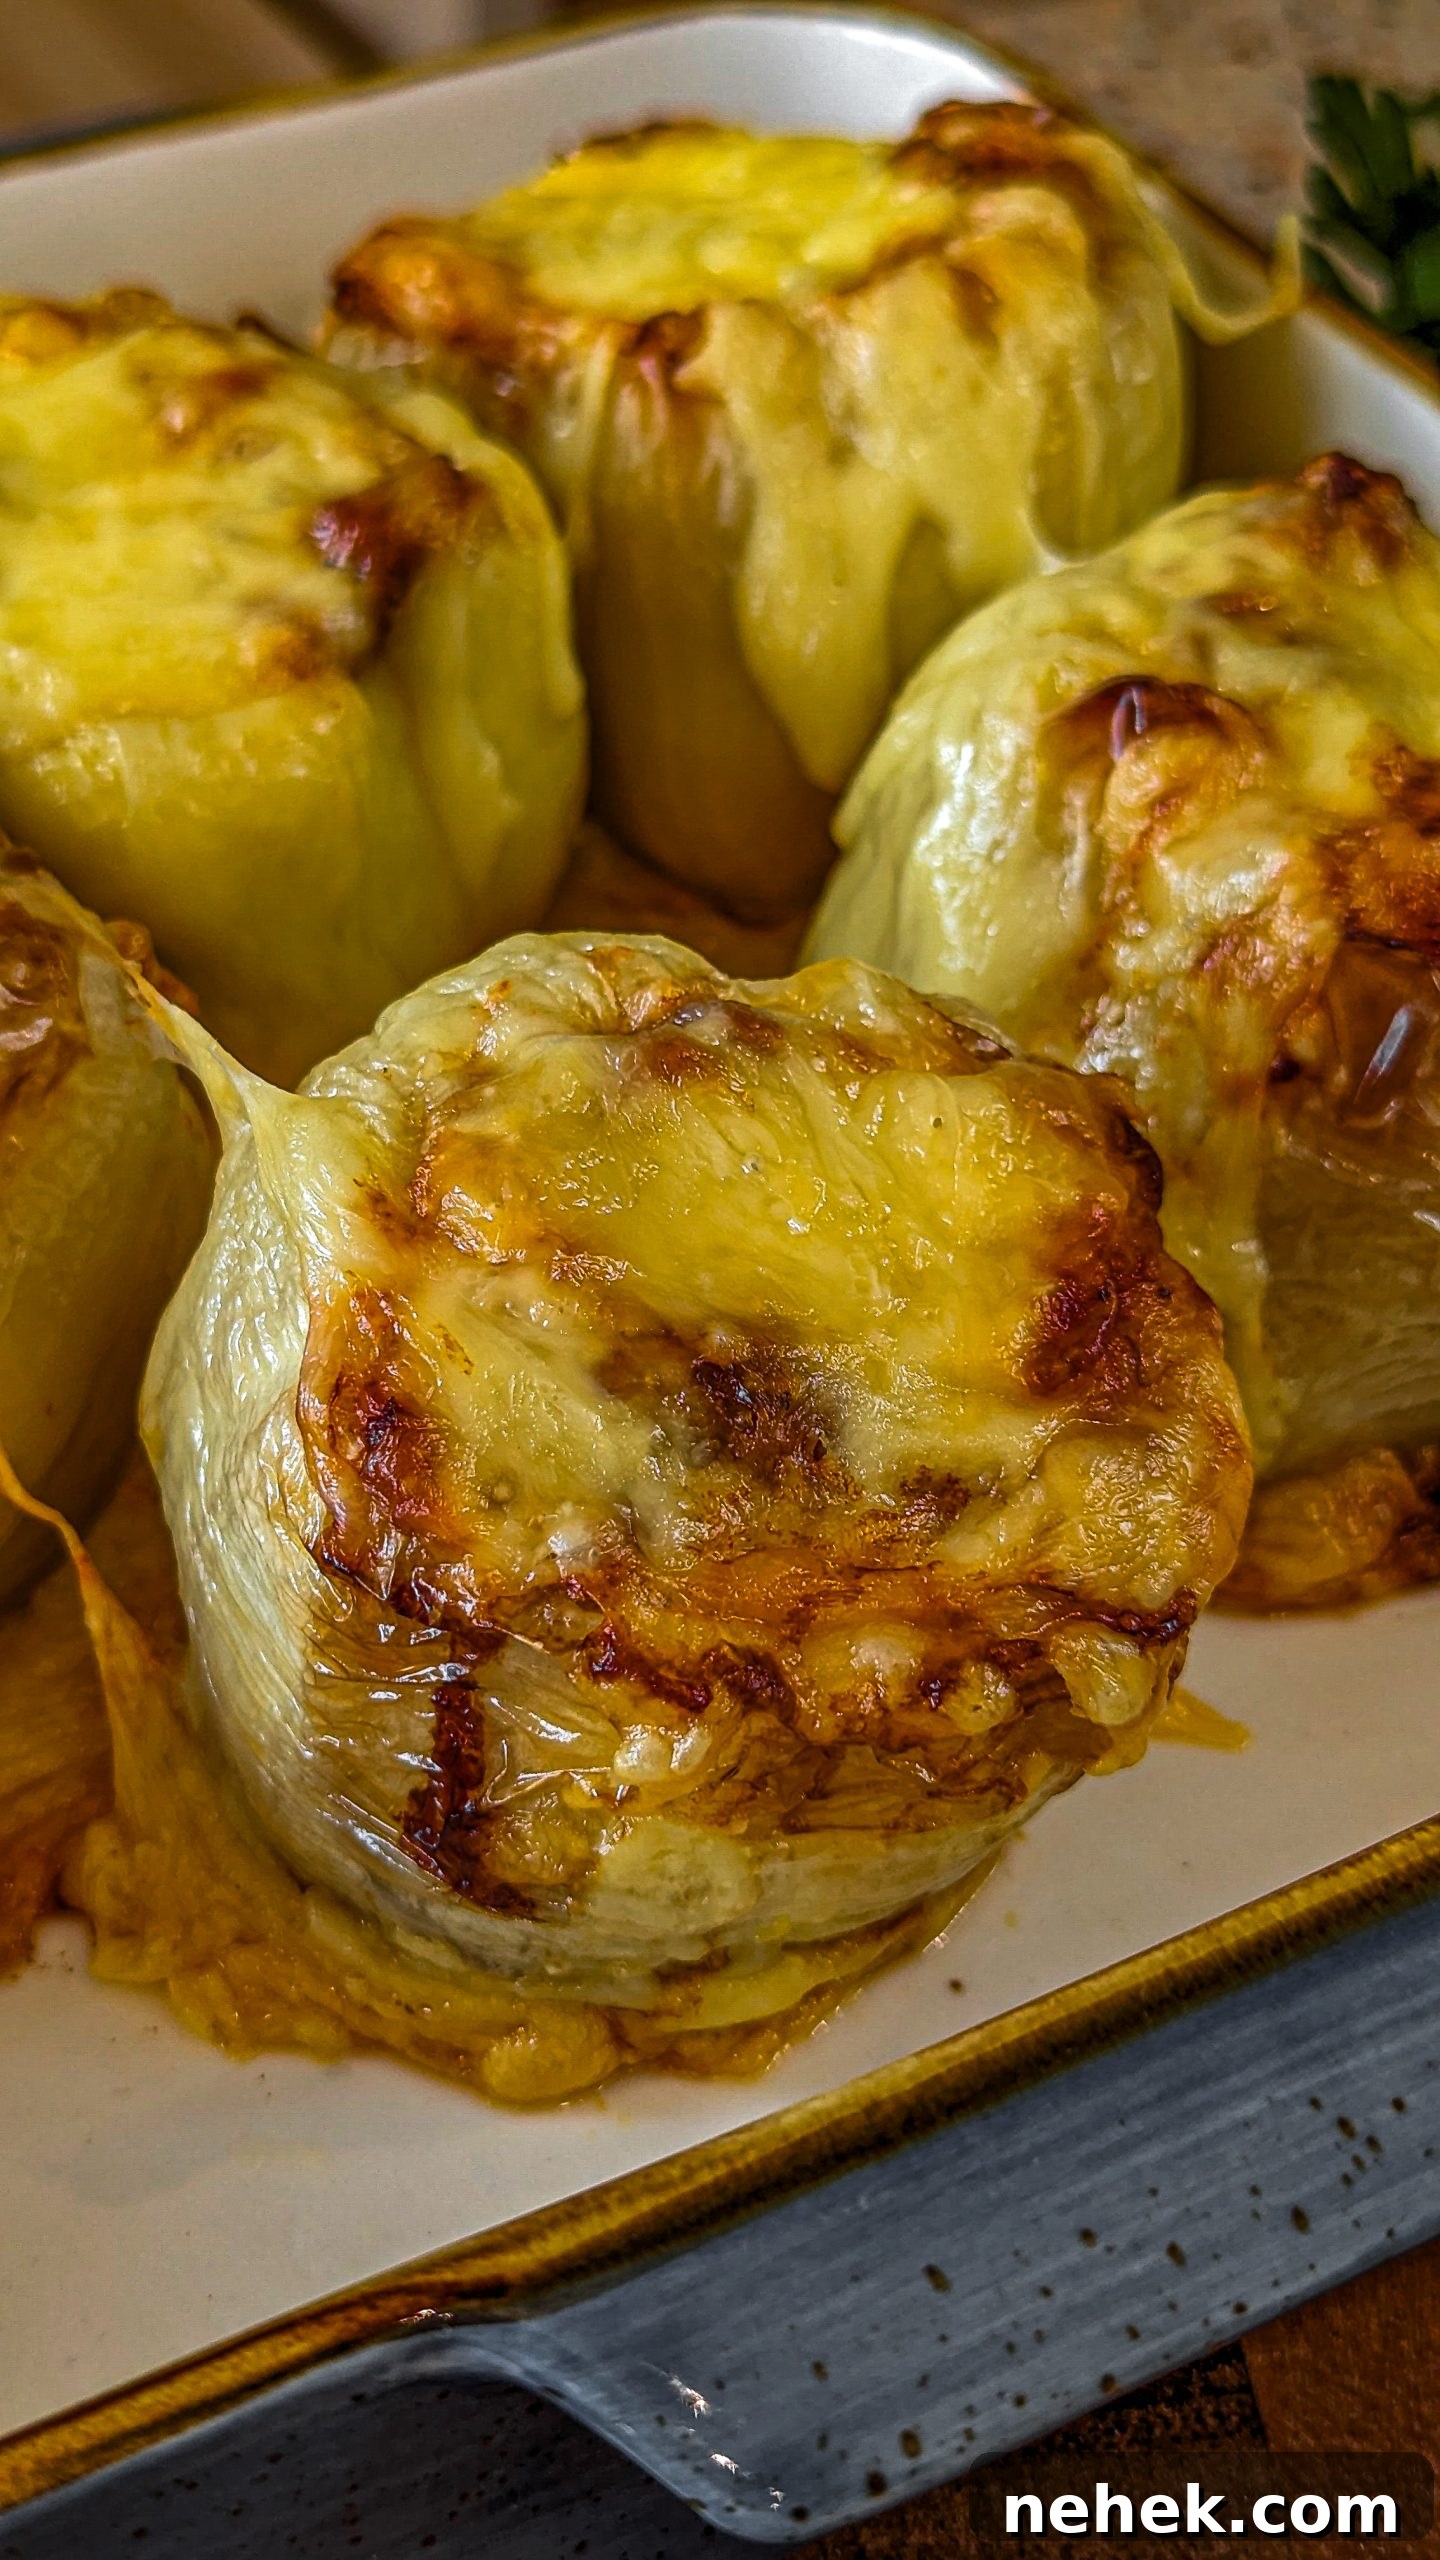
Scroll to bottom for printable recipe card.
Nearly everyone loves stuffed bell peppers. This classic version fills tender peppers with a savory mixture of beef, rice, and cheese, then bakes them until bubbly. The result is a hearty, colorful, and nutritious main dish that’s easy enough for weeknights and pretty enough for guests.
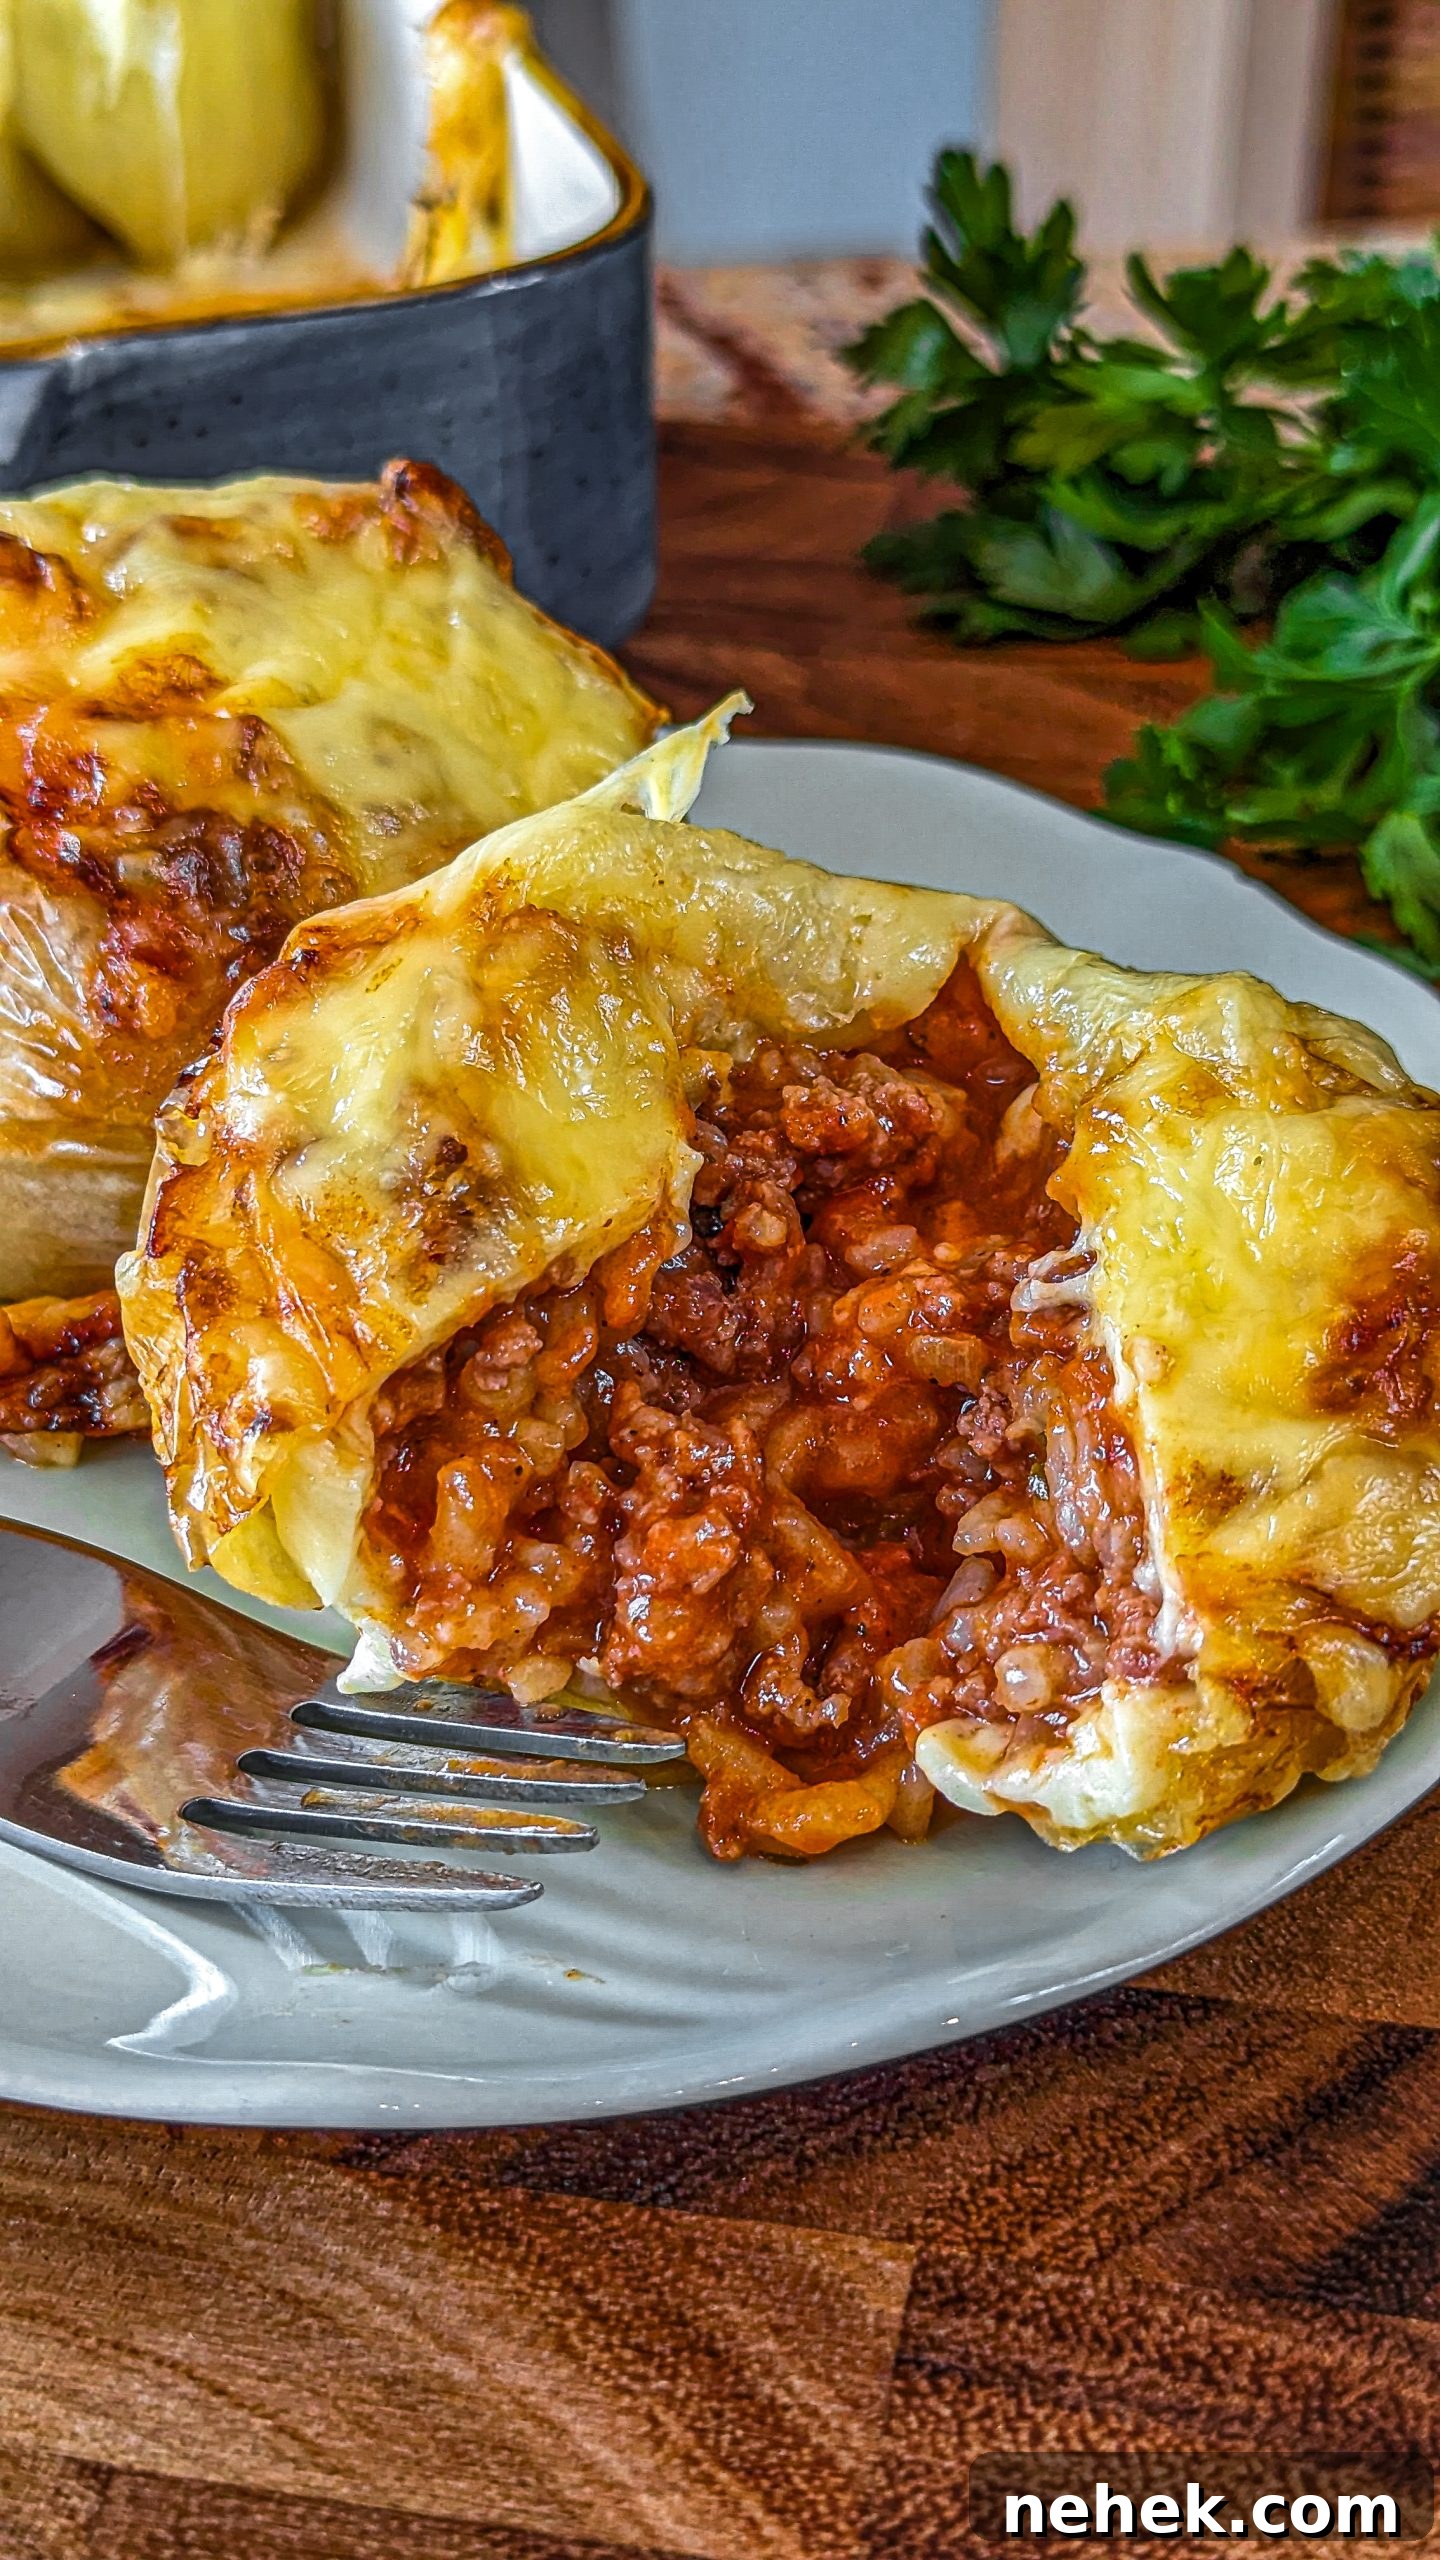
Why You’ll Love This Recipe
This easy stuffed bell peppers recipe brings comforting flavors and bright presentation. It’s straightforward to make, reliably delicious, and adaptable — perfect for feeding a family or making ahead when needed.
How to Serve
These peppers are a complete meal on their own, combining vegetables, protein, and carbs. If you want a side, serve them with a simple green salad, steamed broccoli, or sautéed green beans for a balanced plate.
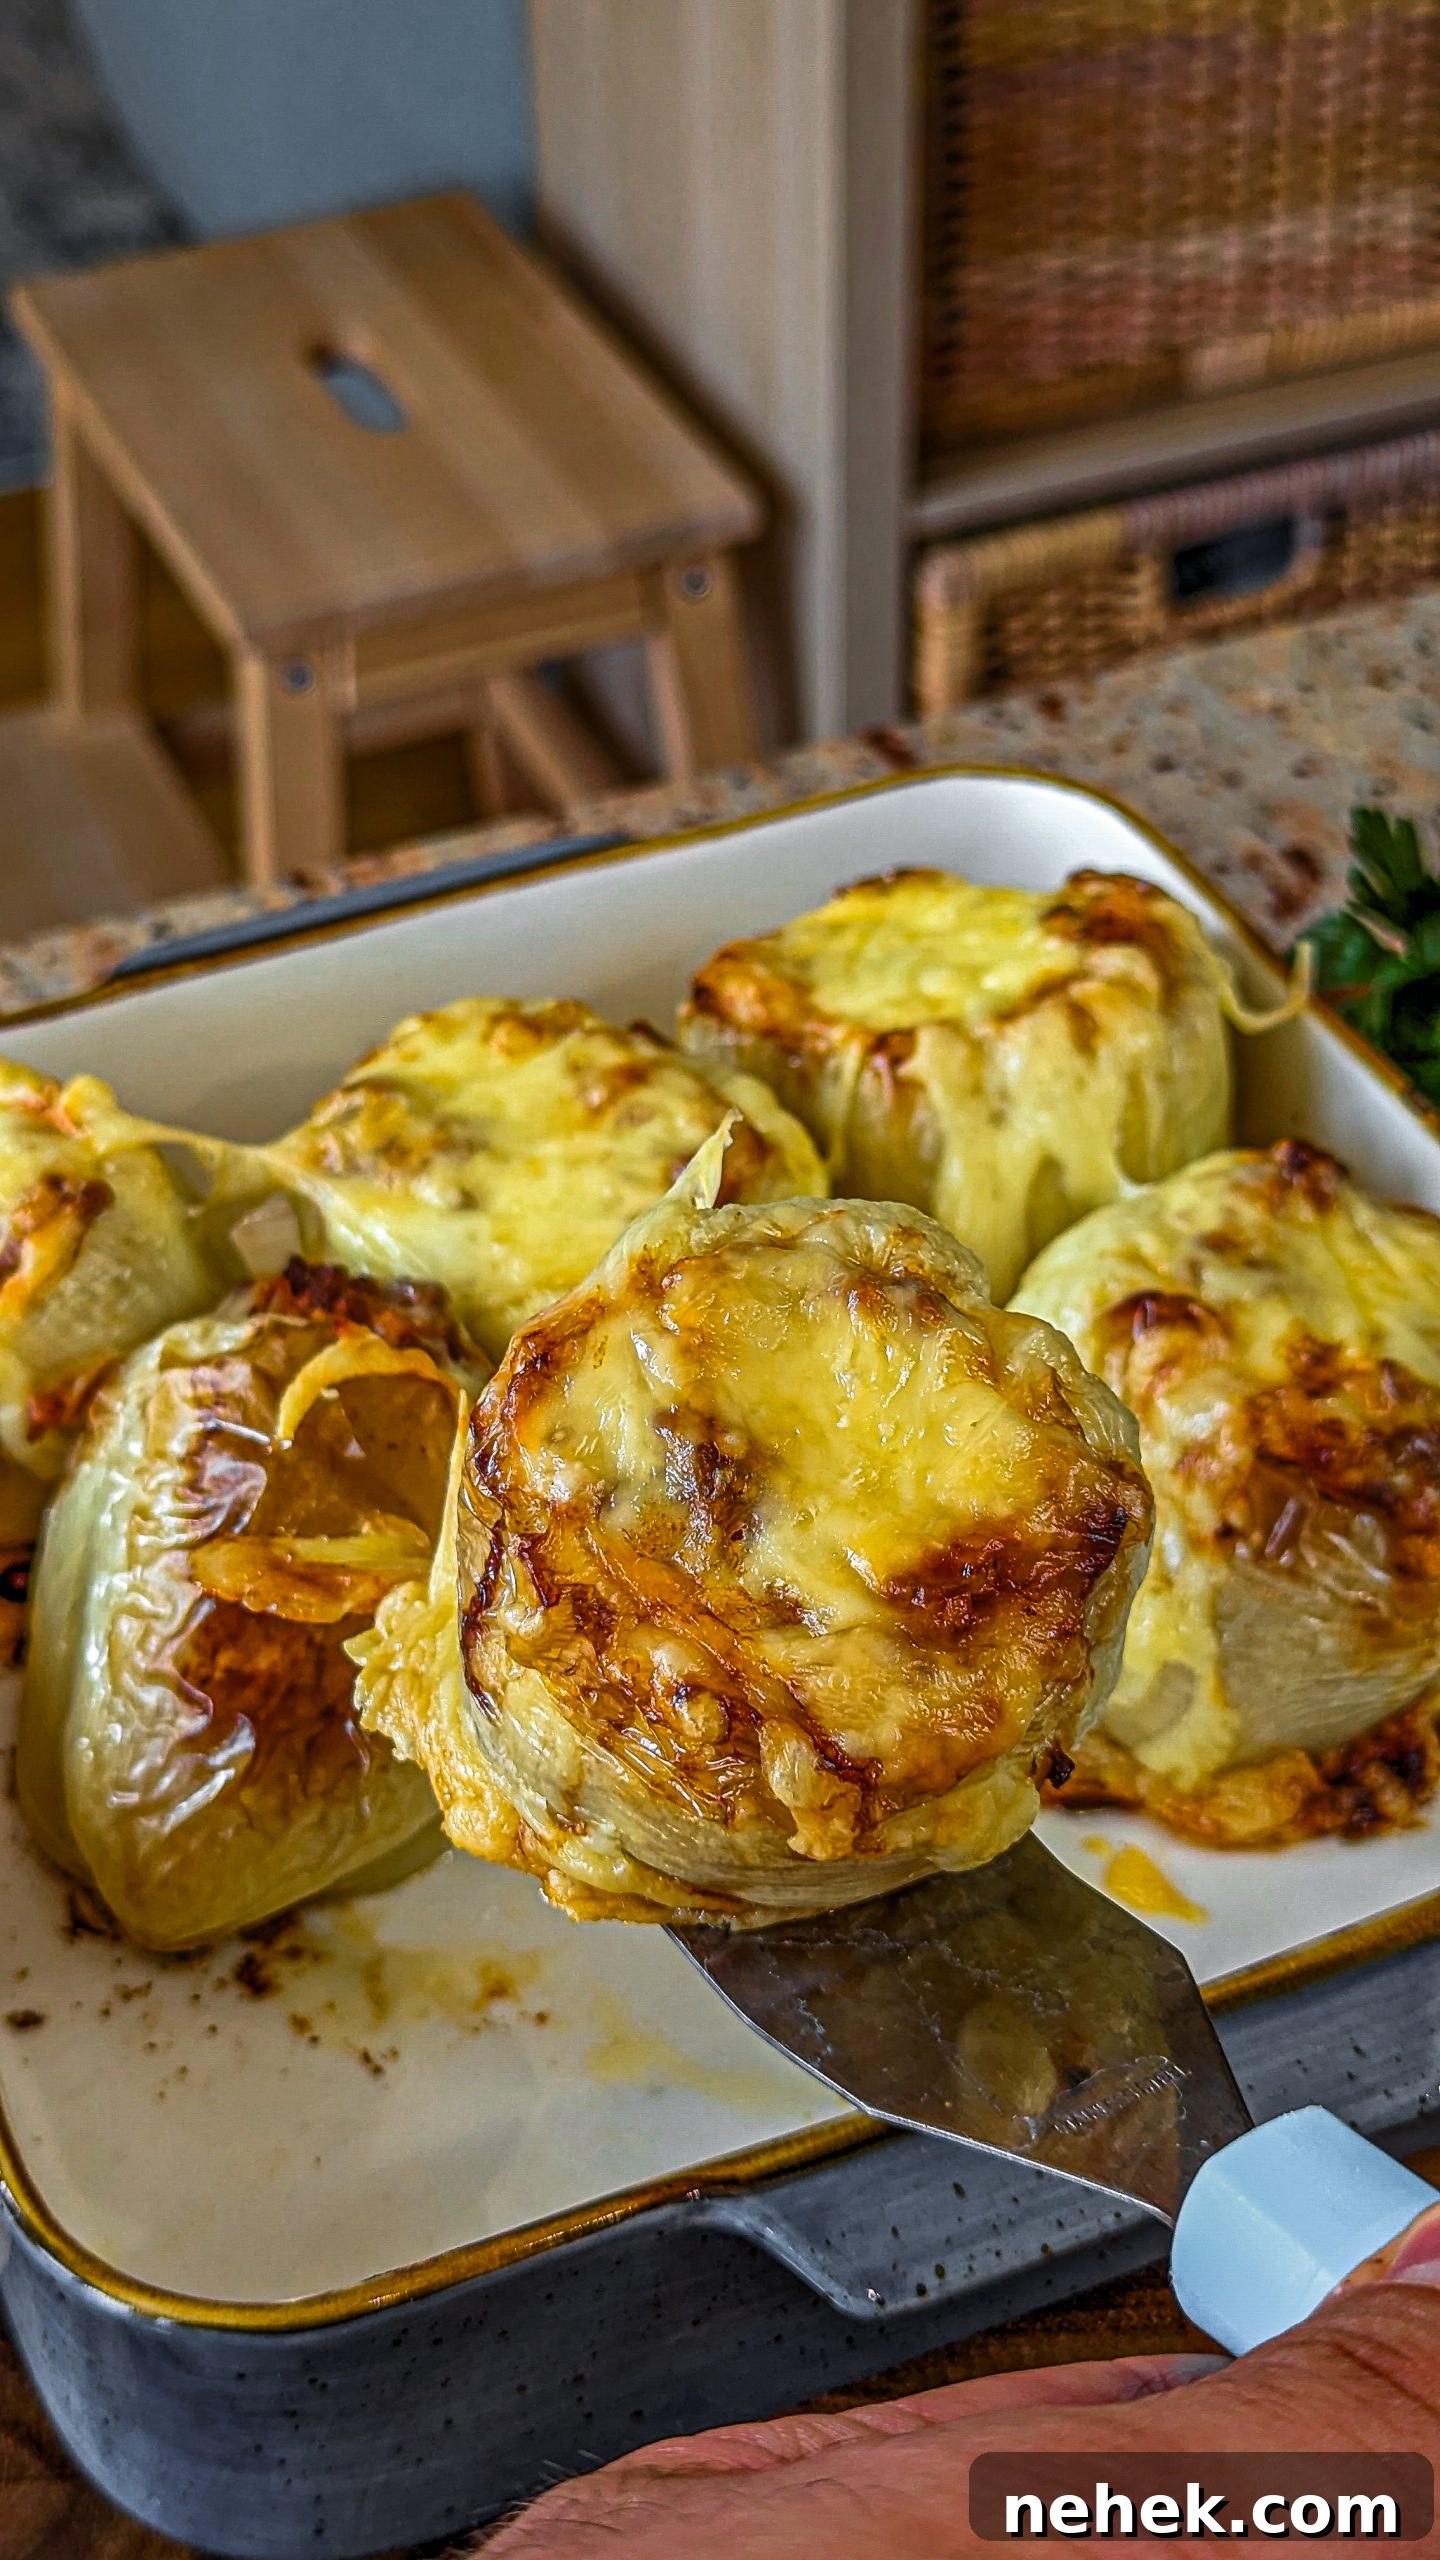
Make-Ahead and Storage
You can prepare and stuff the peppers ahead of time, cover with foil, and refrigerate overnight. However, they’re quick to assemble and often best baked right away. Store leftovers in an airtight container in the refrigerator for up to 4 days and reheat in the oven or microwave.
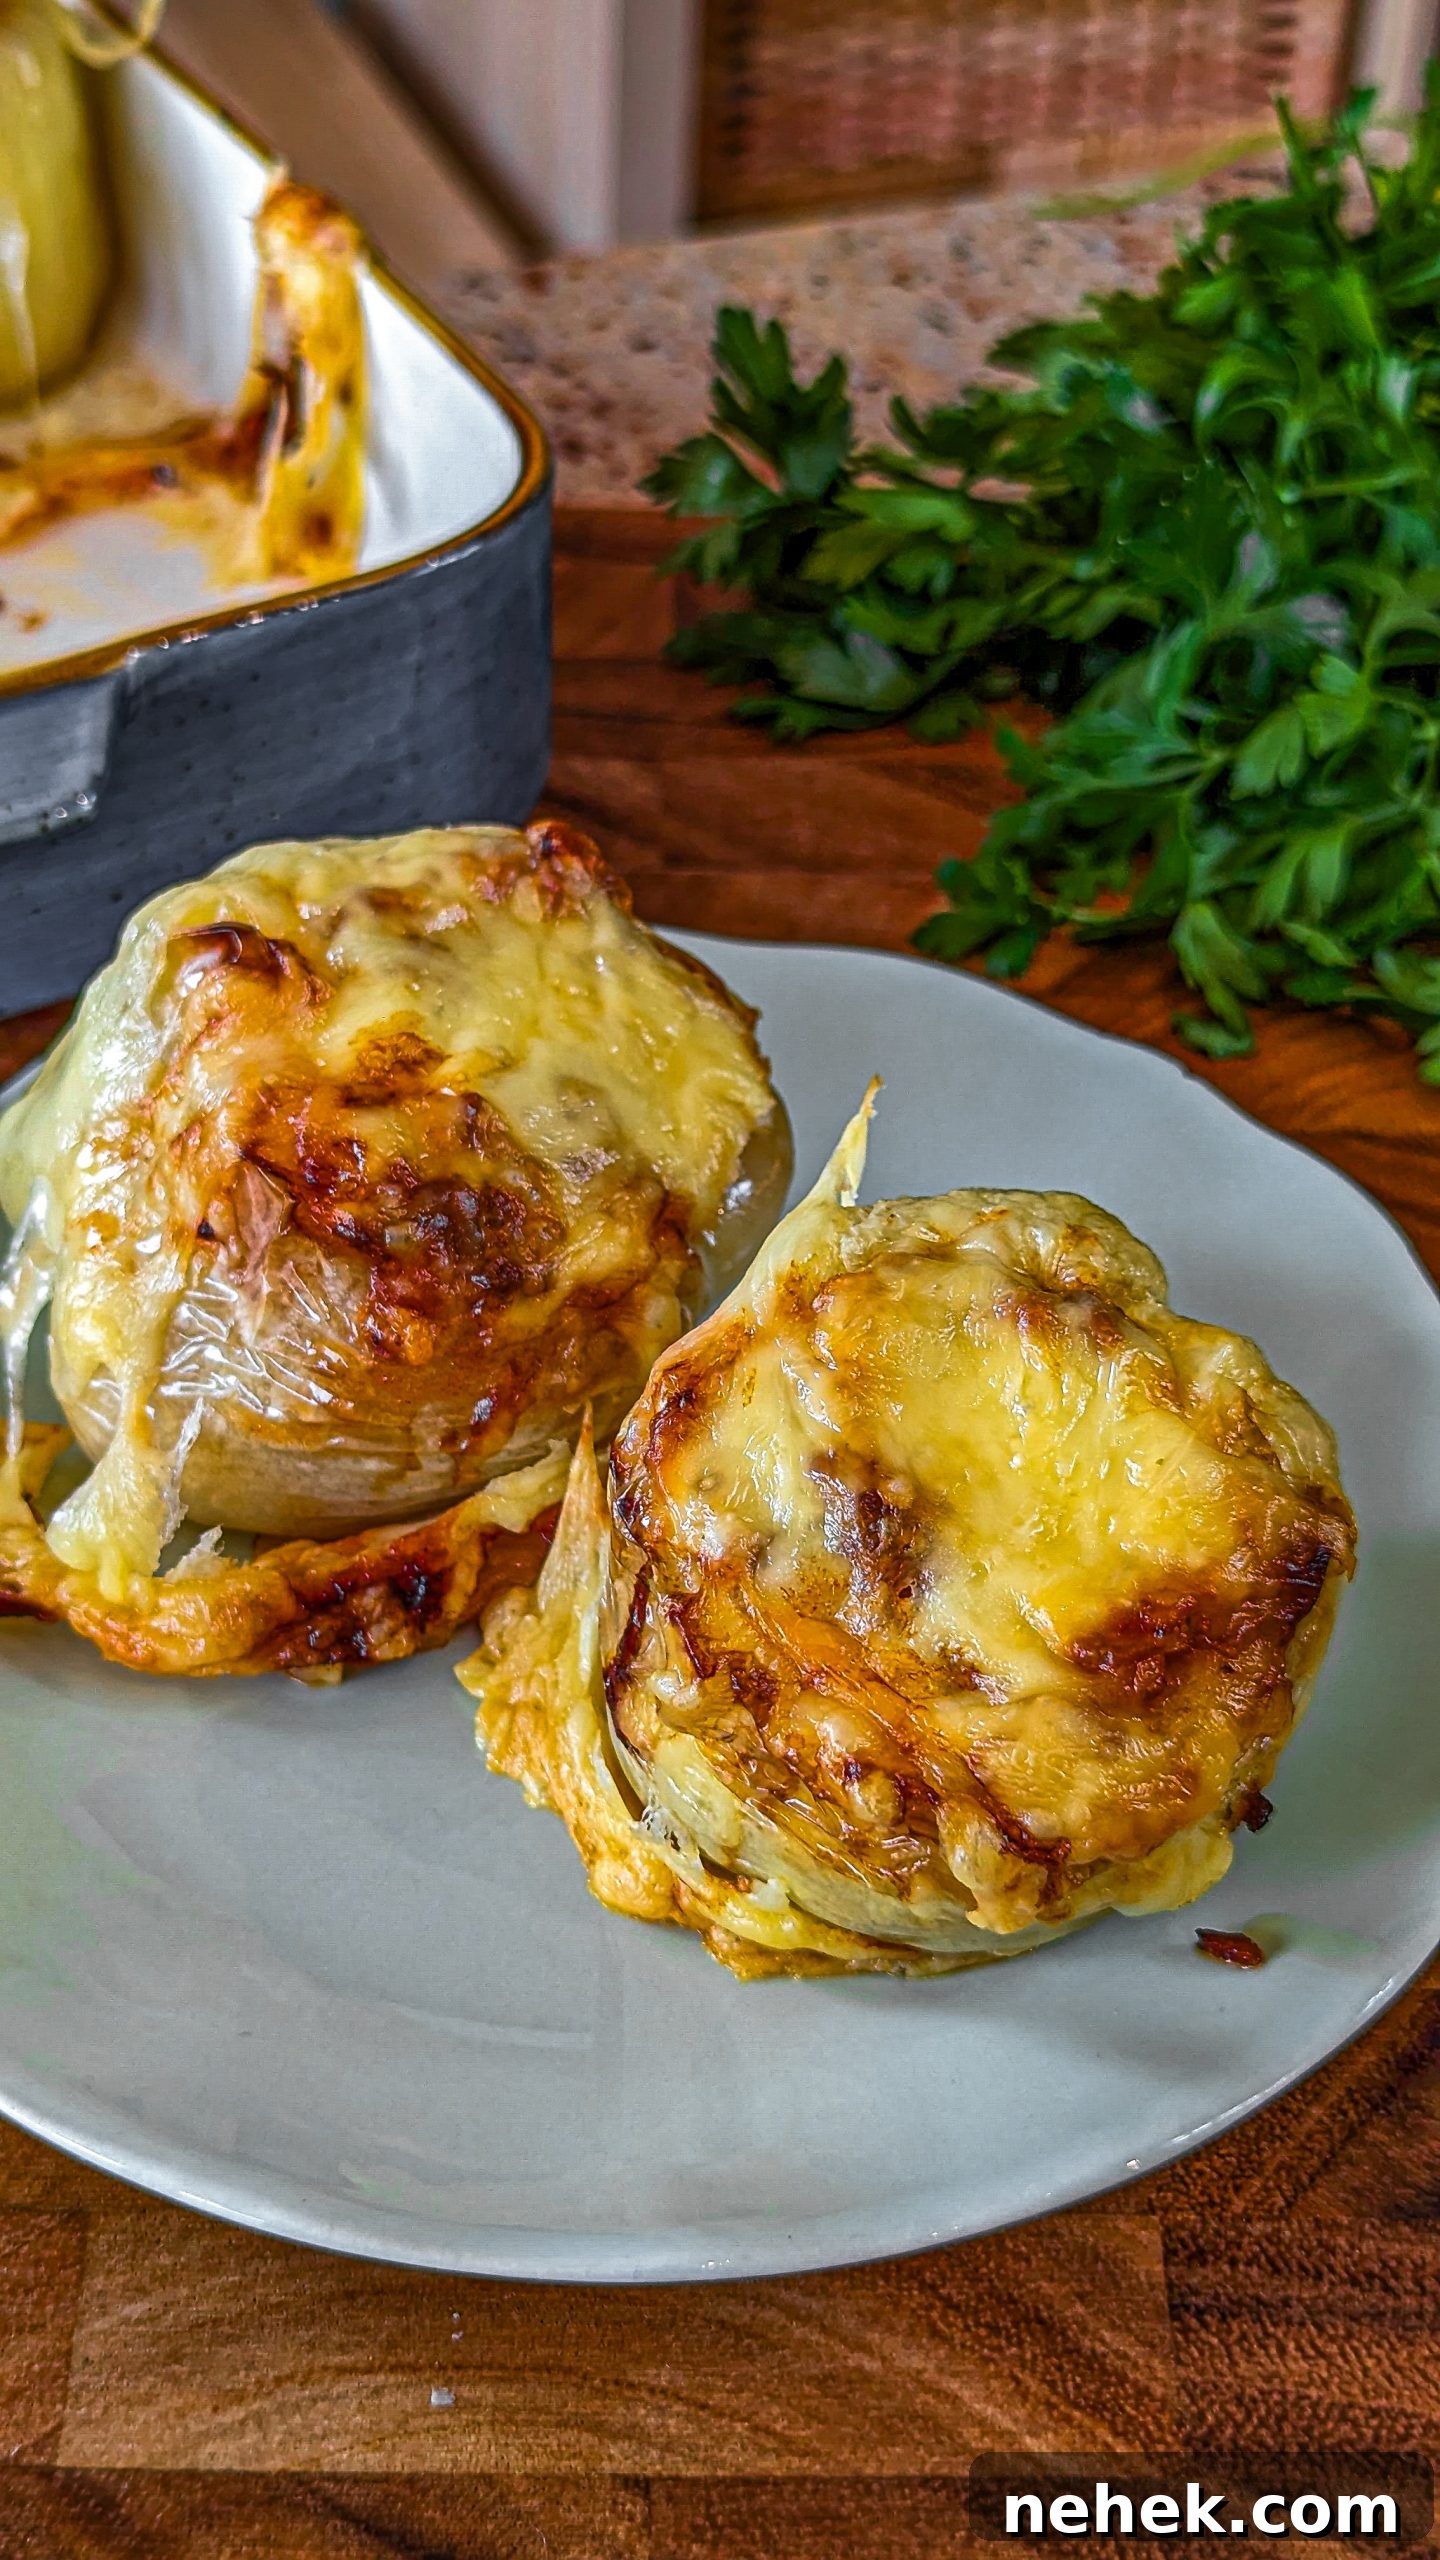
Ingredients:
- 6 bell peppers, any color
- 1½ pounds lean ground beef
- 2 teaspoons olive oil
- 1½ cups cooked white rice
- ½ cup finely chopped yellow onion
- 2 cloves garlic, minced
- 1½ cups shredded mozzarella, divided
- 2 tablespoons chopped fresh parsley
- 15 ounces canned crushed tomatoes or tomato sauce
- ½ teaspoon Italian seasoning
- Salt and black pepper, to taste
- Nonstick cooking spray or oil, as needed
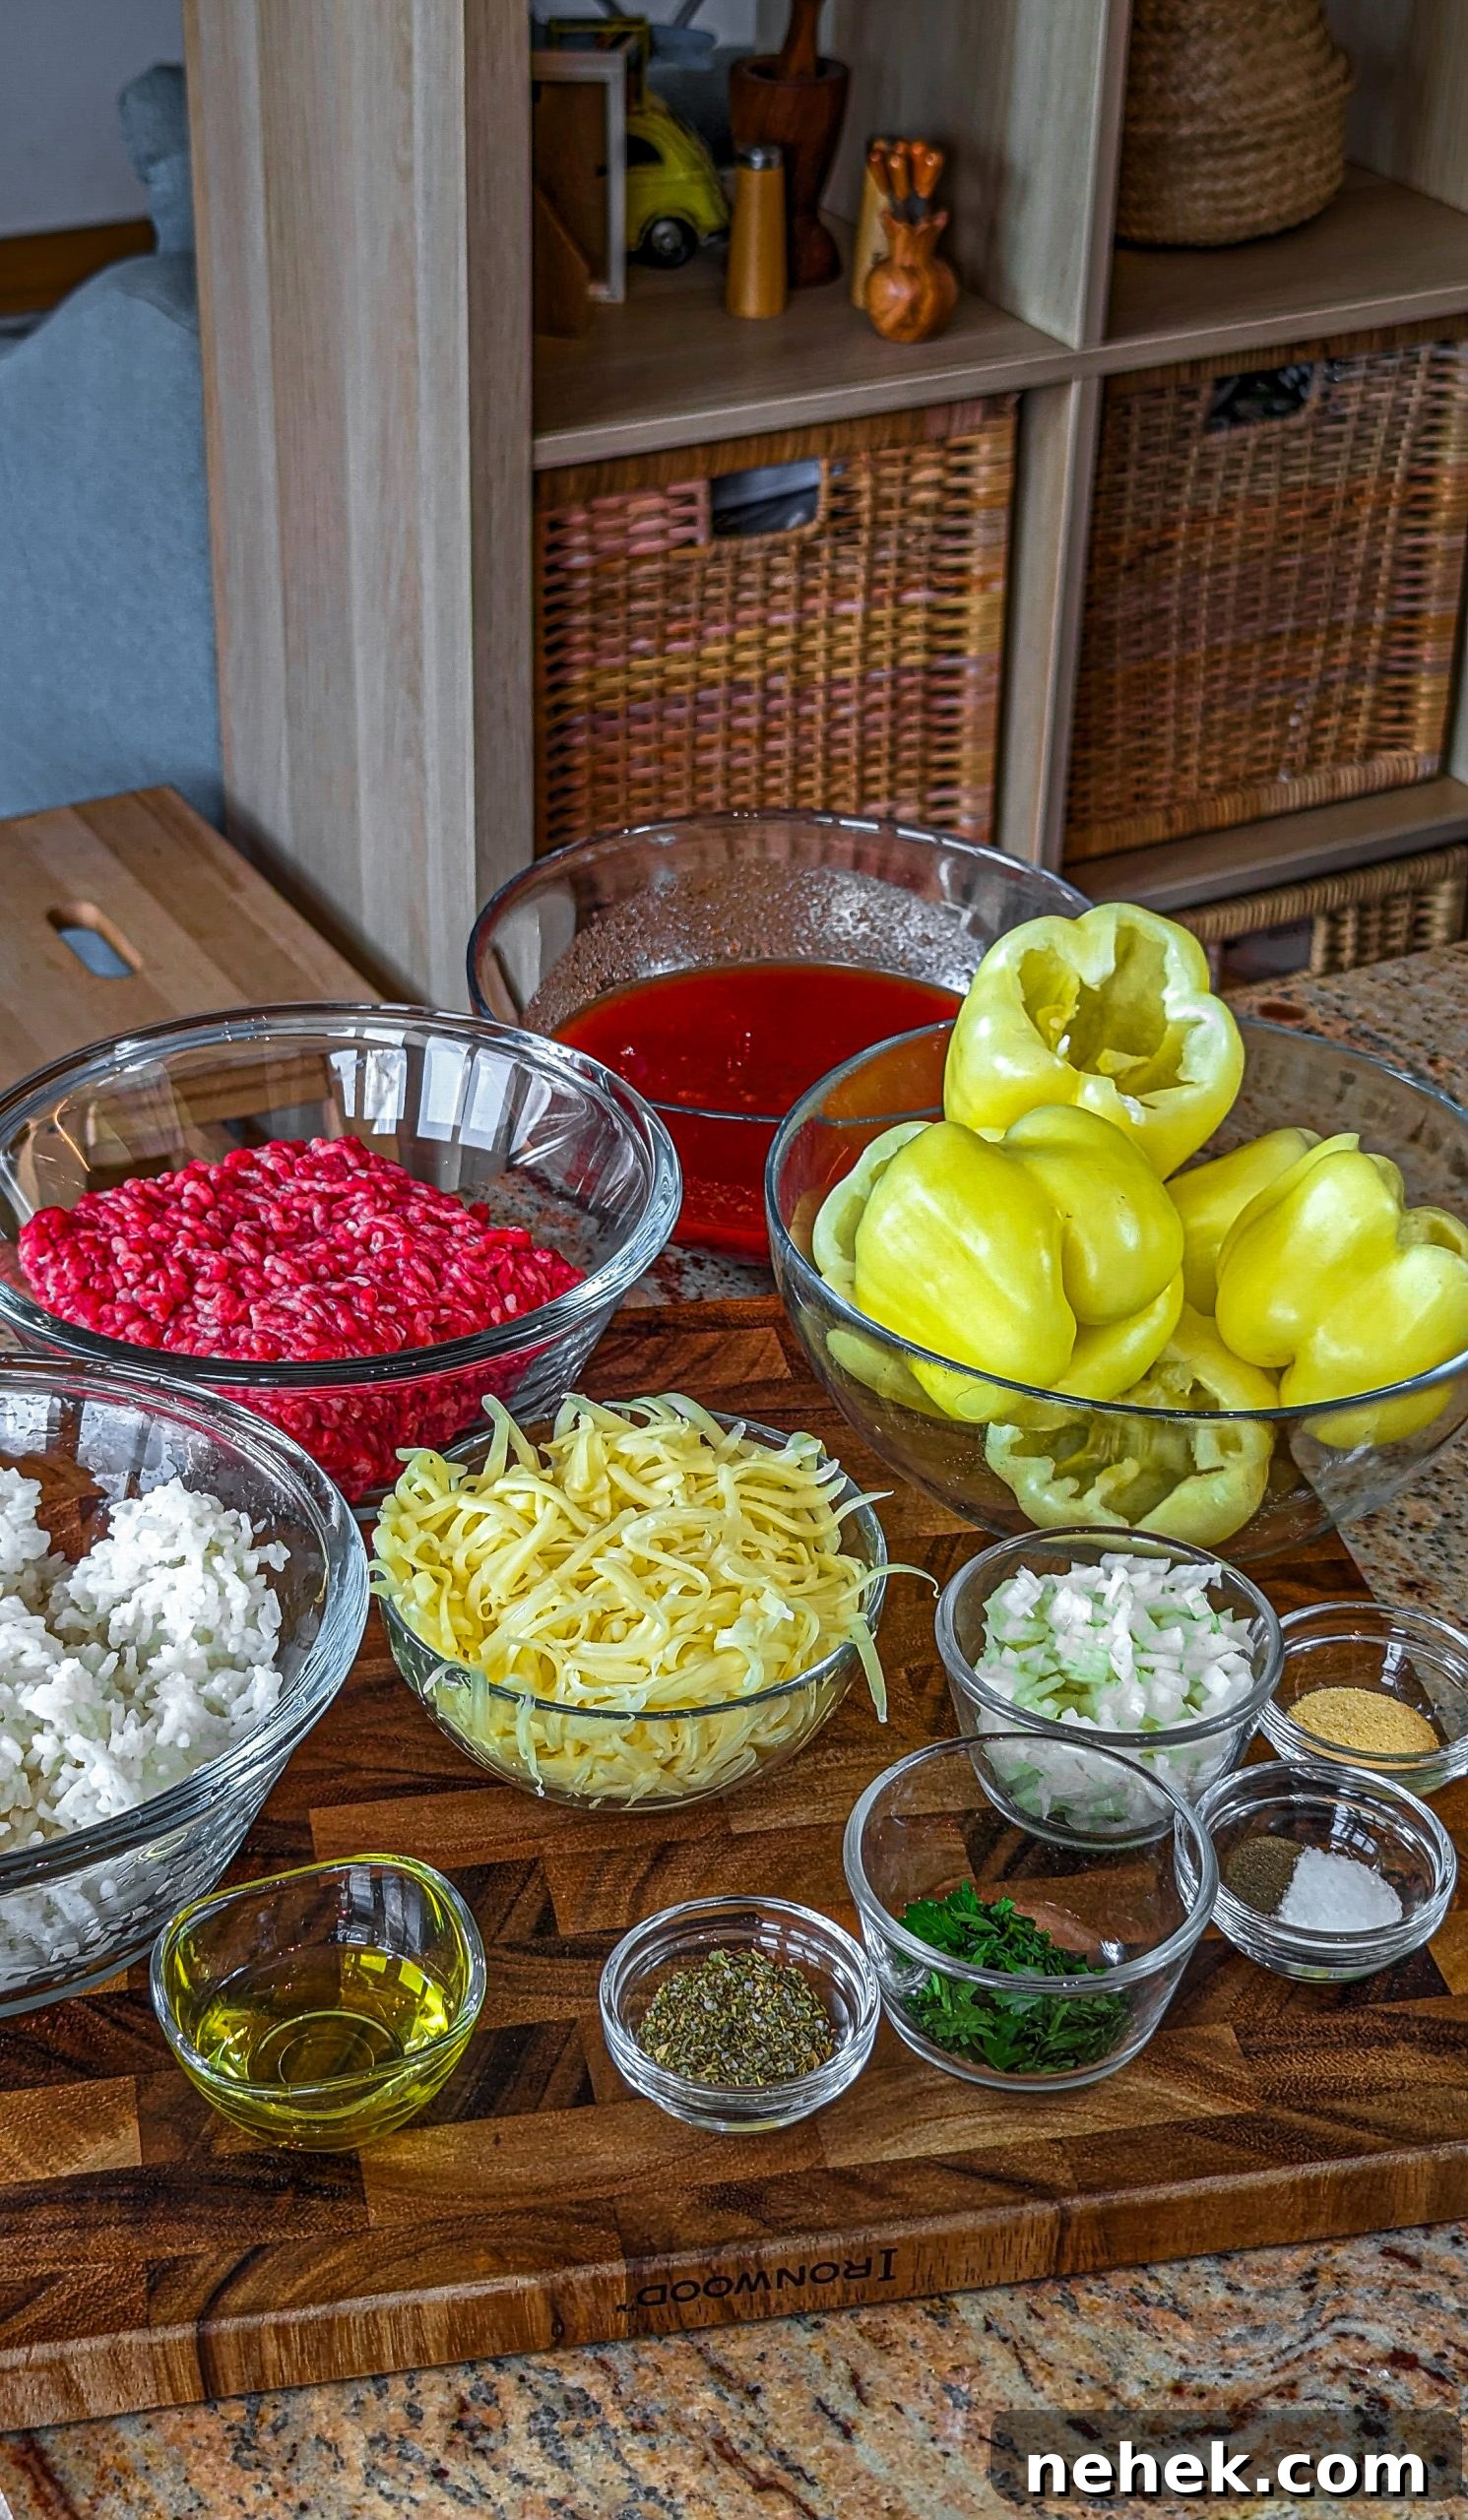
How to Make Stuffed Bell Peppers
Step 1. Preheat the oven to 350°F (175°C).
Step 2. Remove the tops of the peppers and discard the seeds and membranes.
Step 3. Place the peppers open-side down in a baking dish coated with cooking spray. Pour 1½ cups of water into the dish.
Step 4. Cover the dish with foil and bake for about 25 minutes to soften the peppers.
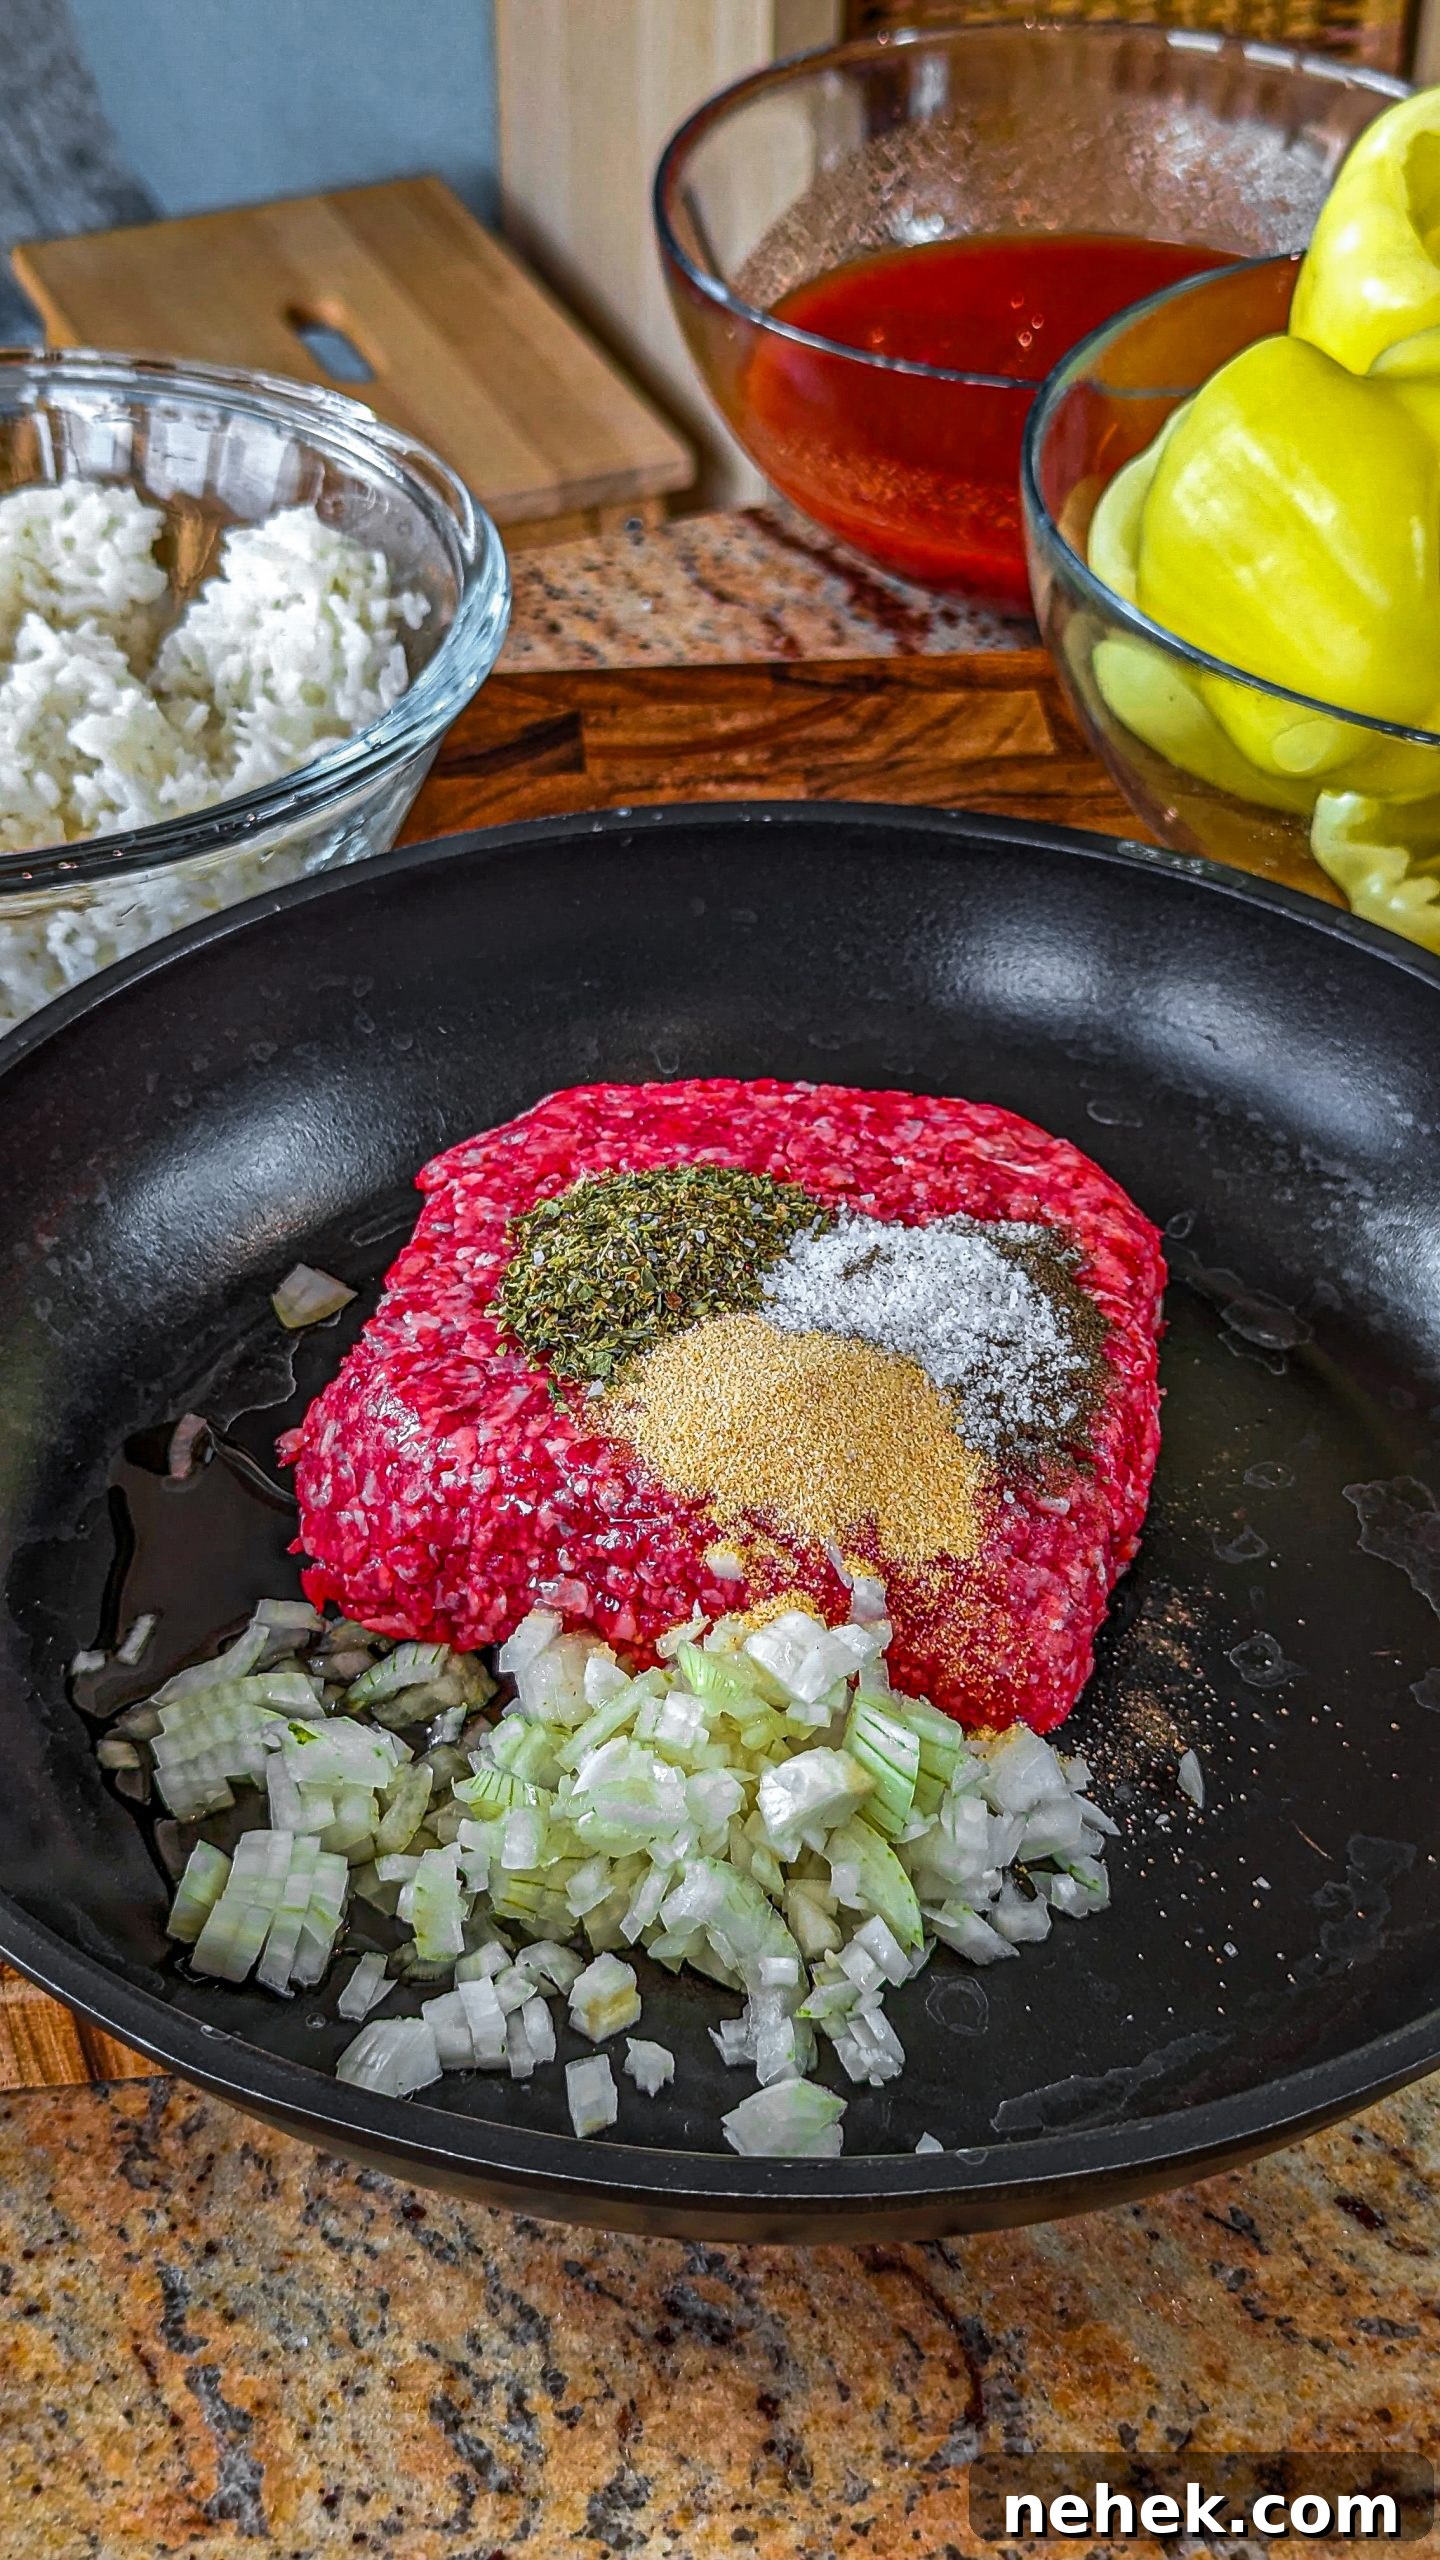
Step 5. Meanwhile, prepare the filling.
Step 6. Heat the olive oil in a skillet over medium heat. Add the ground beef, season with salt and pepper, and cook until no pink remains, about 5 minutes.
Step 7. Add the onion and cook, stirring, for about 4 minutes until softened.
Step 8. Stir in the garlic and cook for 30 seconds more.
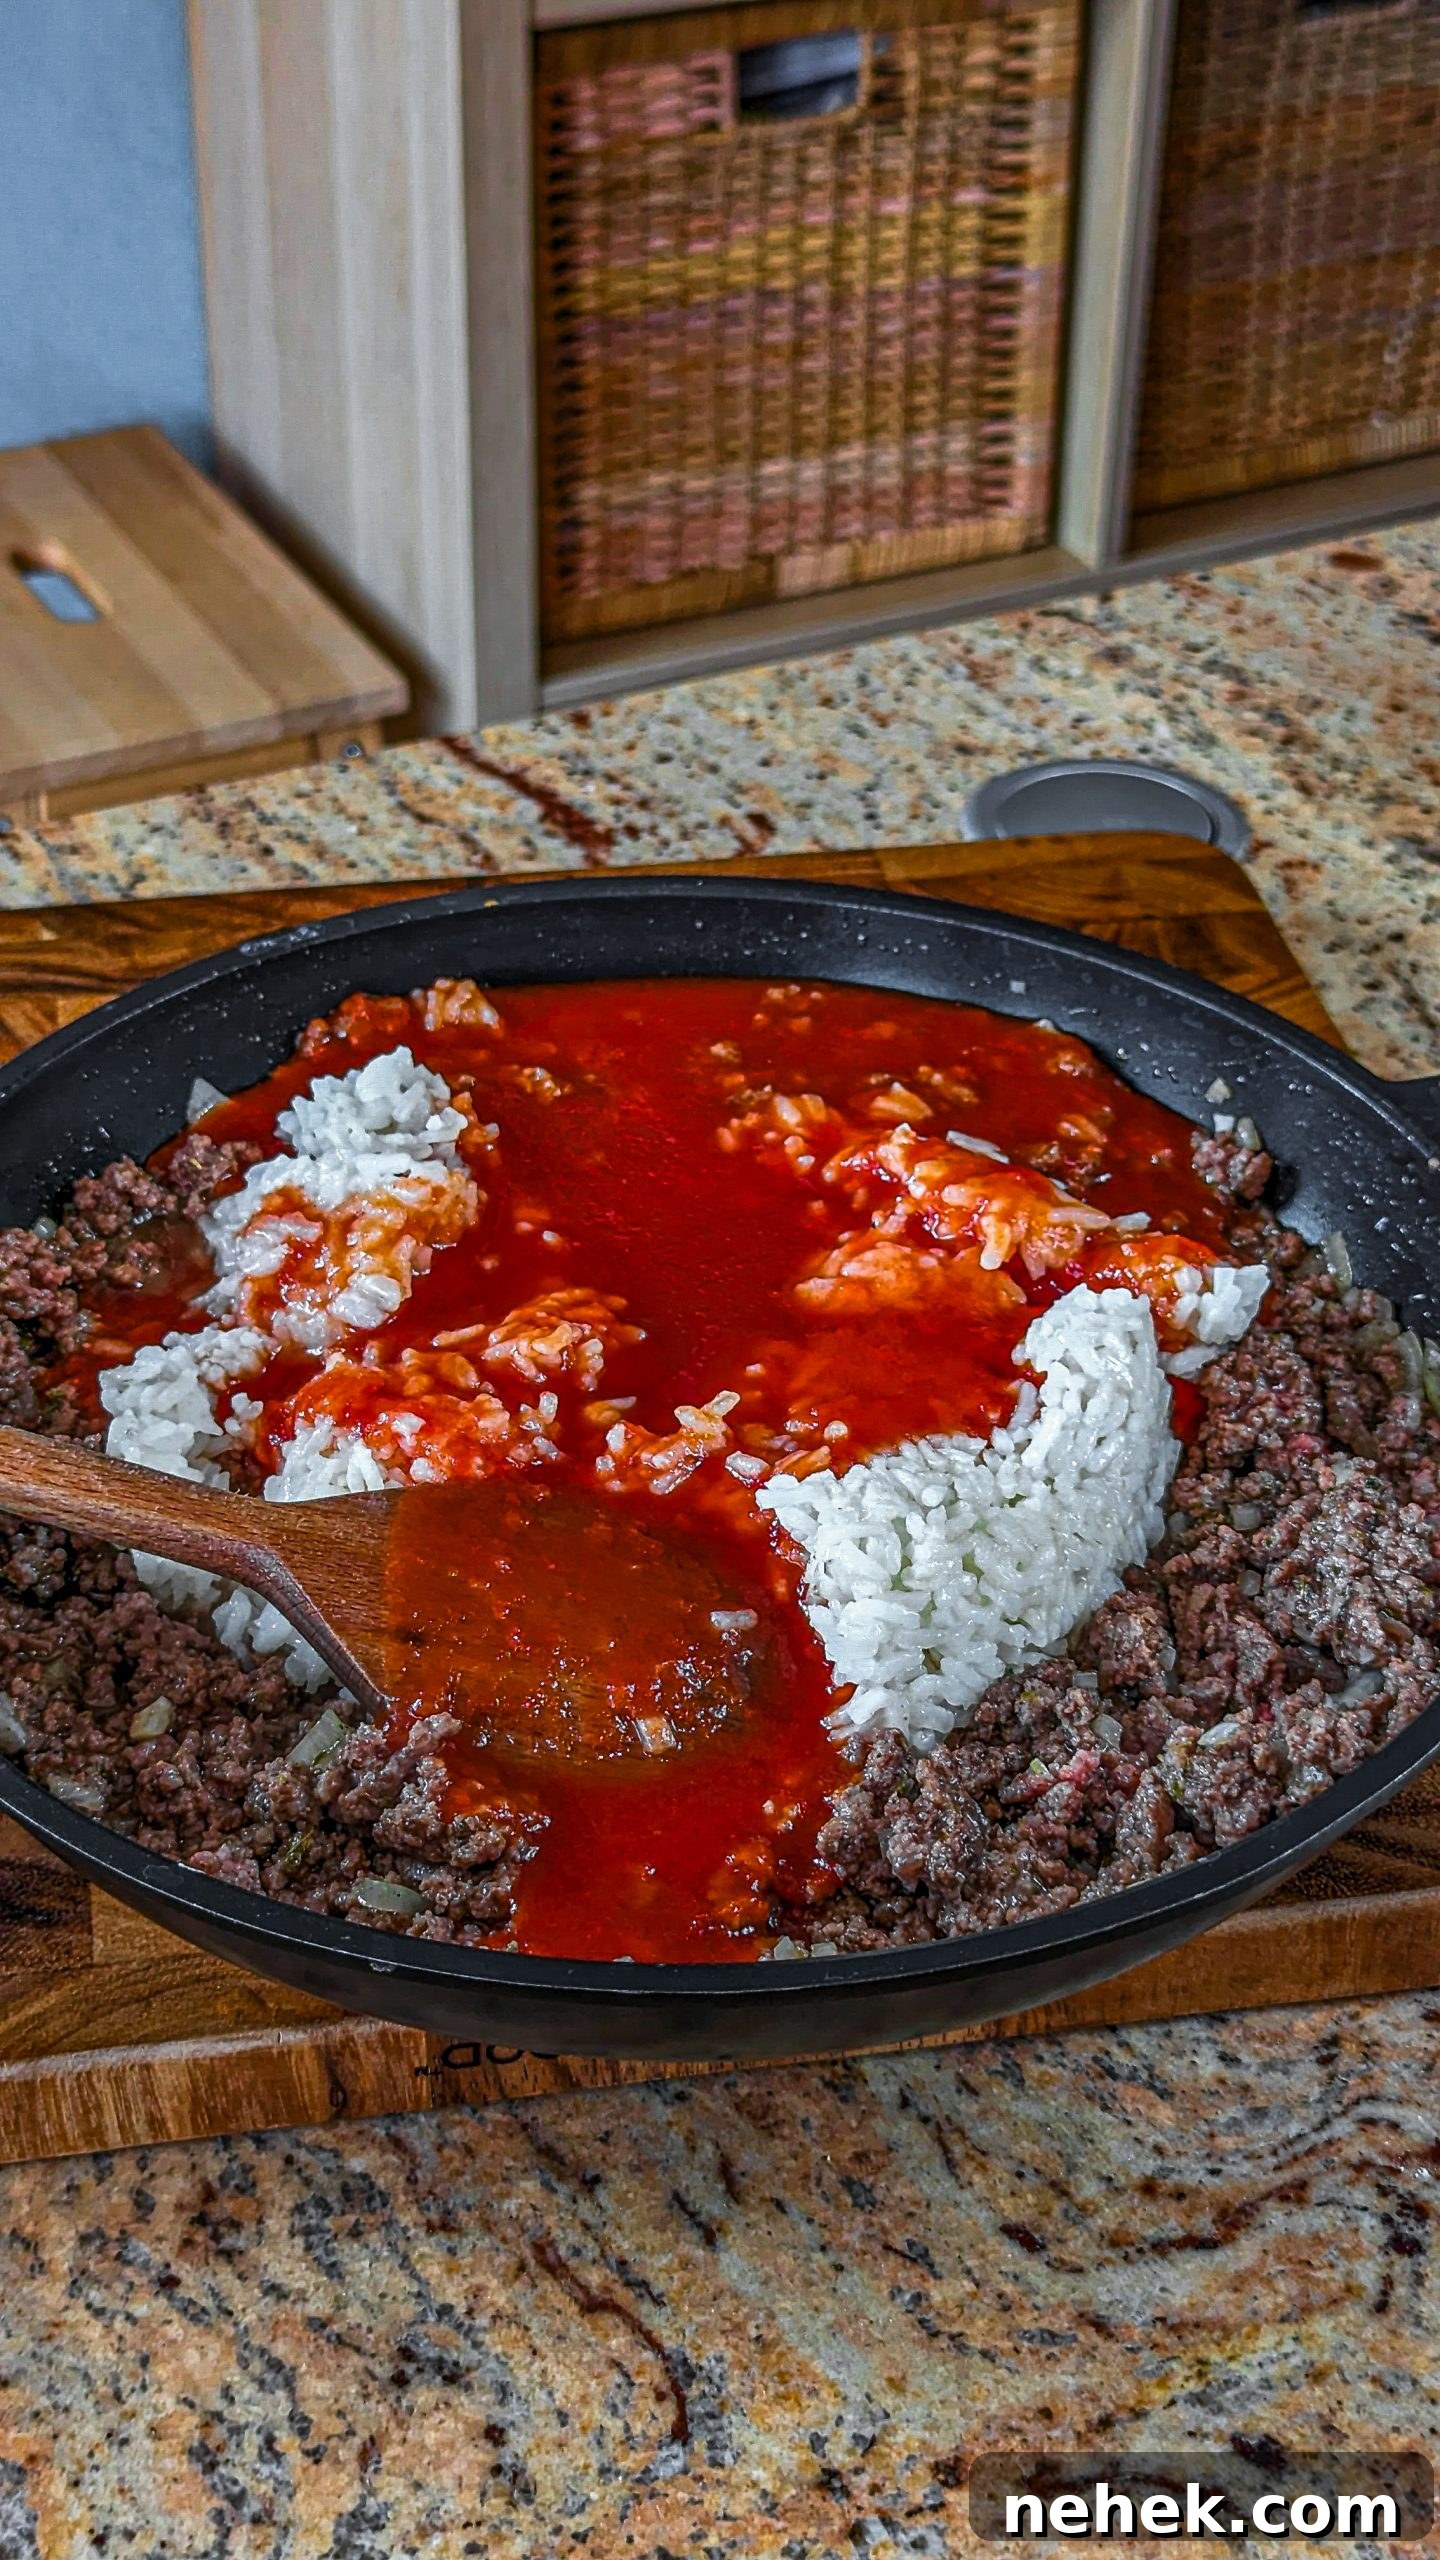
Step 9. Add the cooked rice, Italian seasoning, and crushed tomatoes (or tomato sauce). Stir until combined.
Step 10. Mix in ½ cup of the shredded mozzarella and adjust seasoning with salt and black pepper.
Step 11. Remove the peppers from the oven and carefully drain any water from the baking dish.
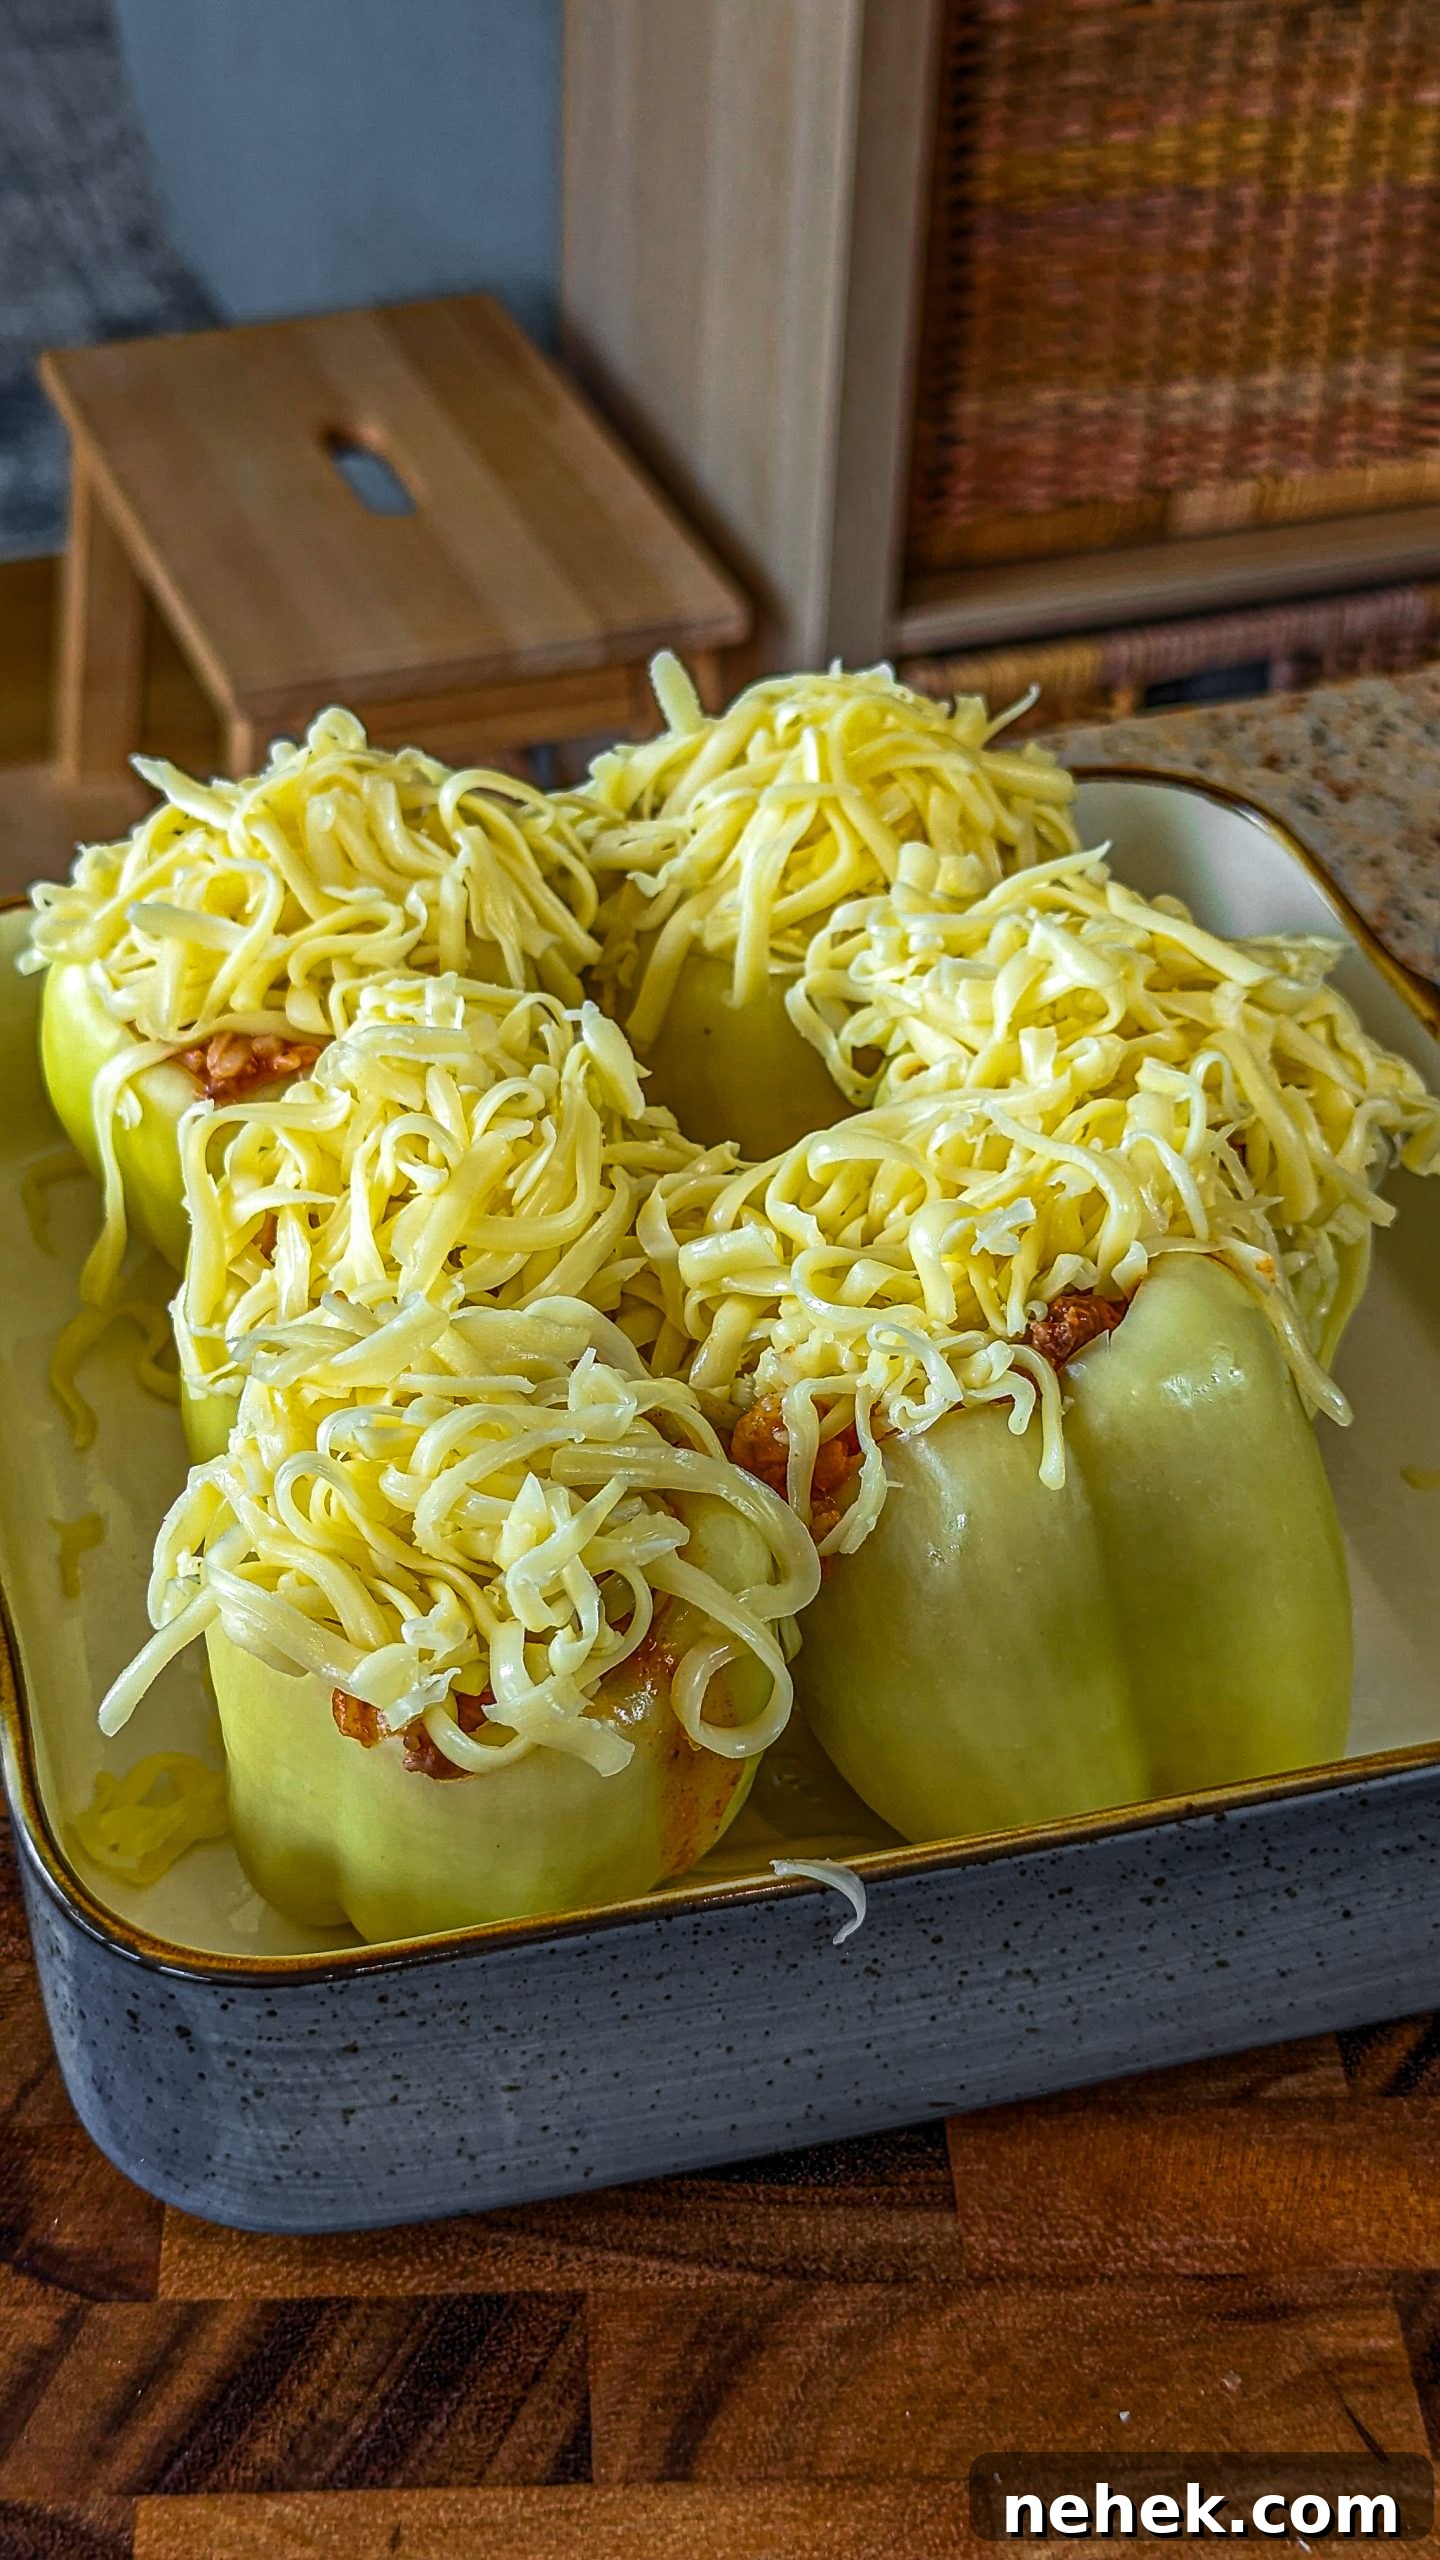
Step 12. Turn the peppers upright and fill each pepper with the beef and rice mixture.
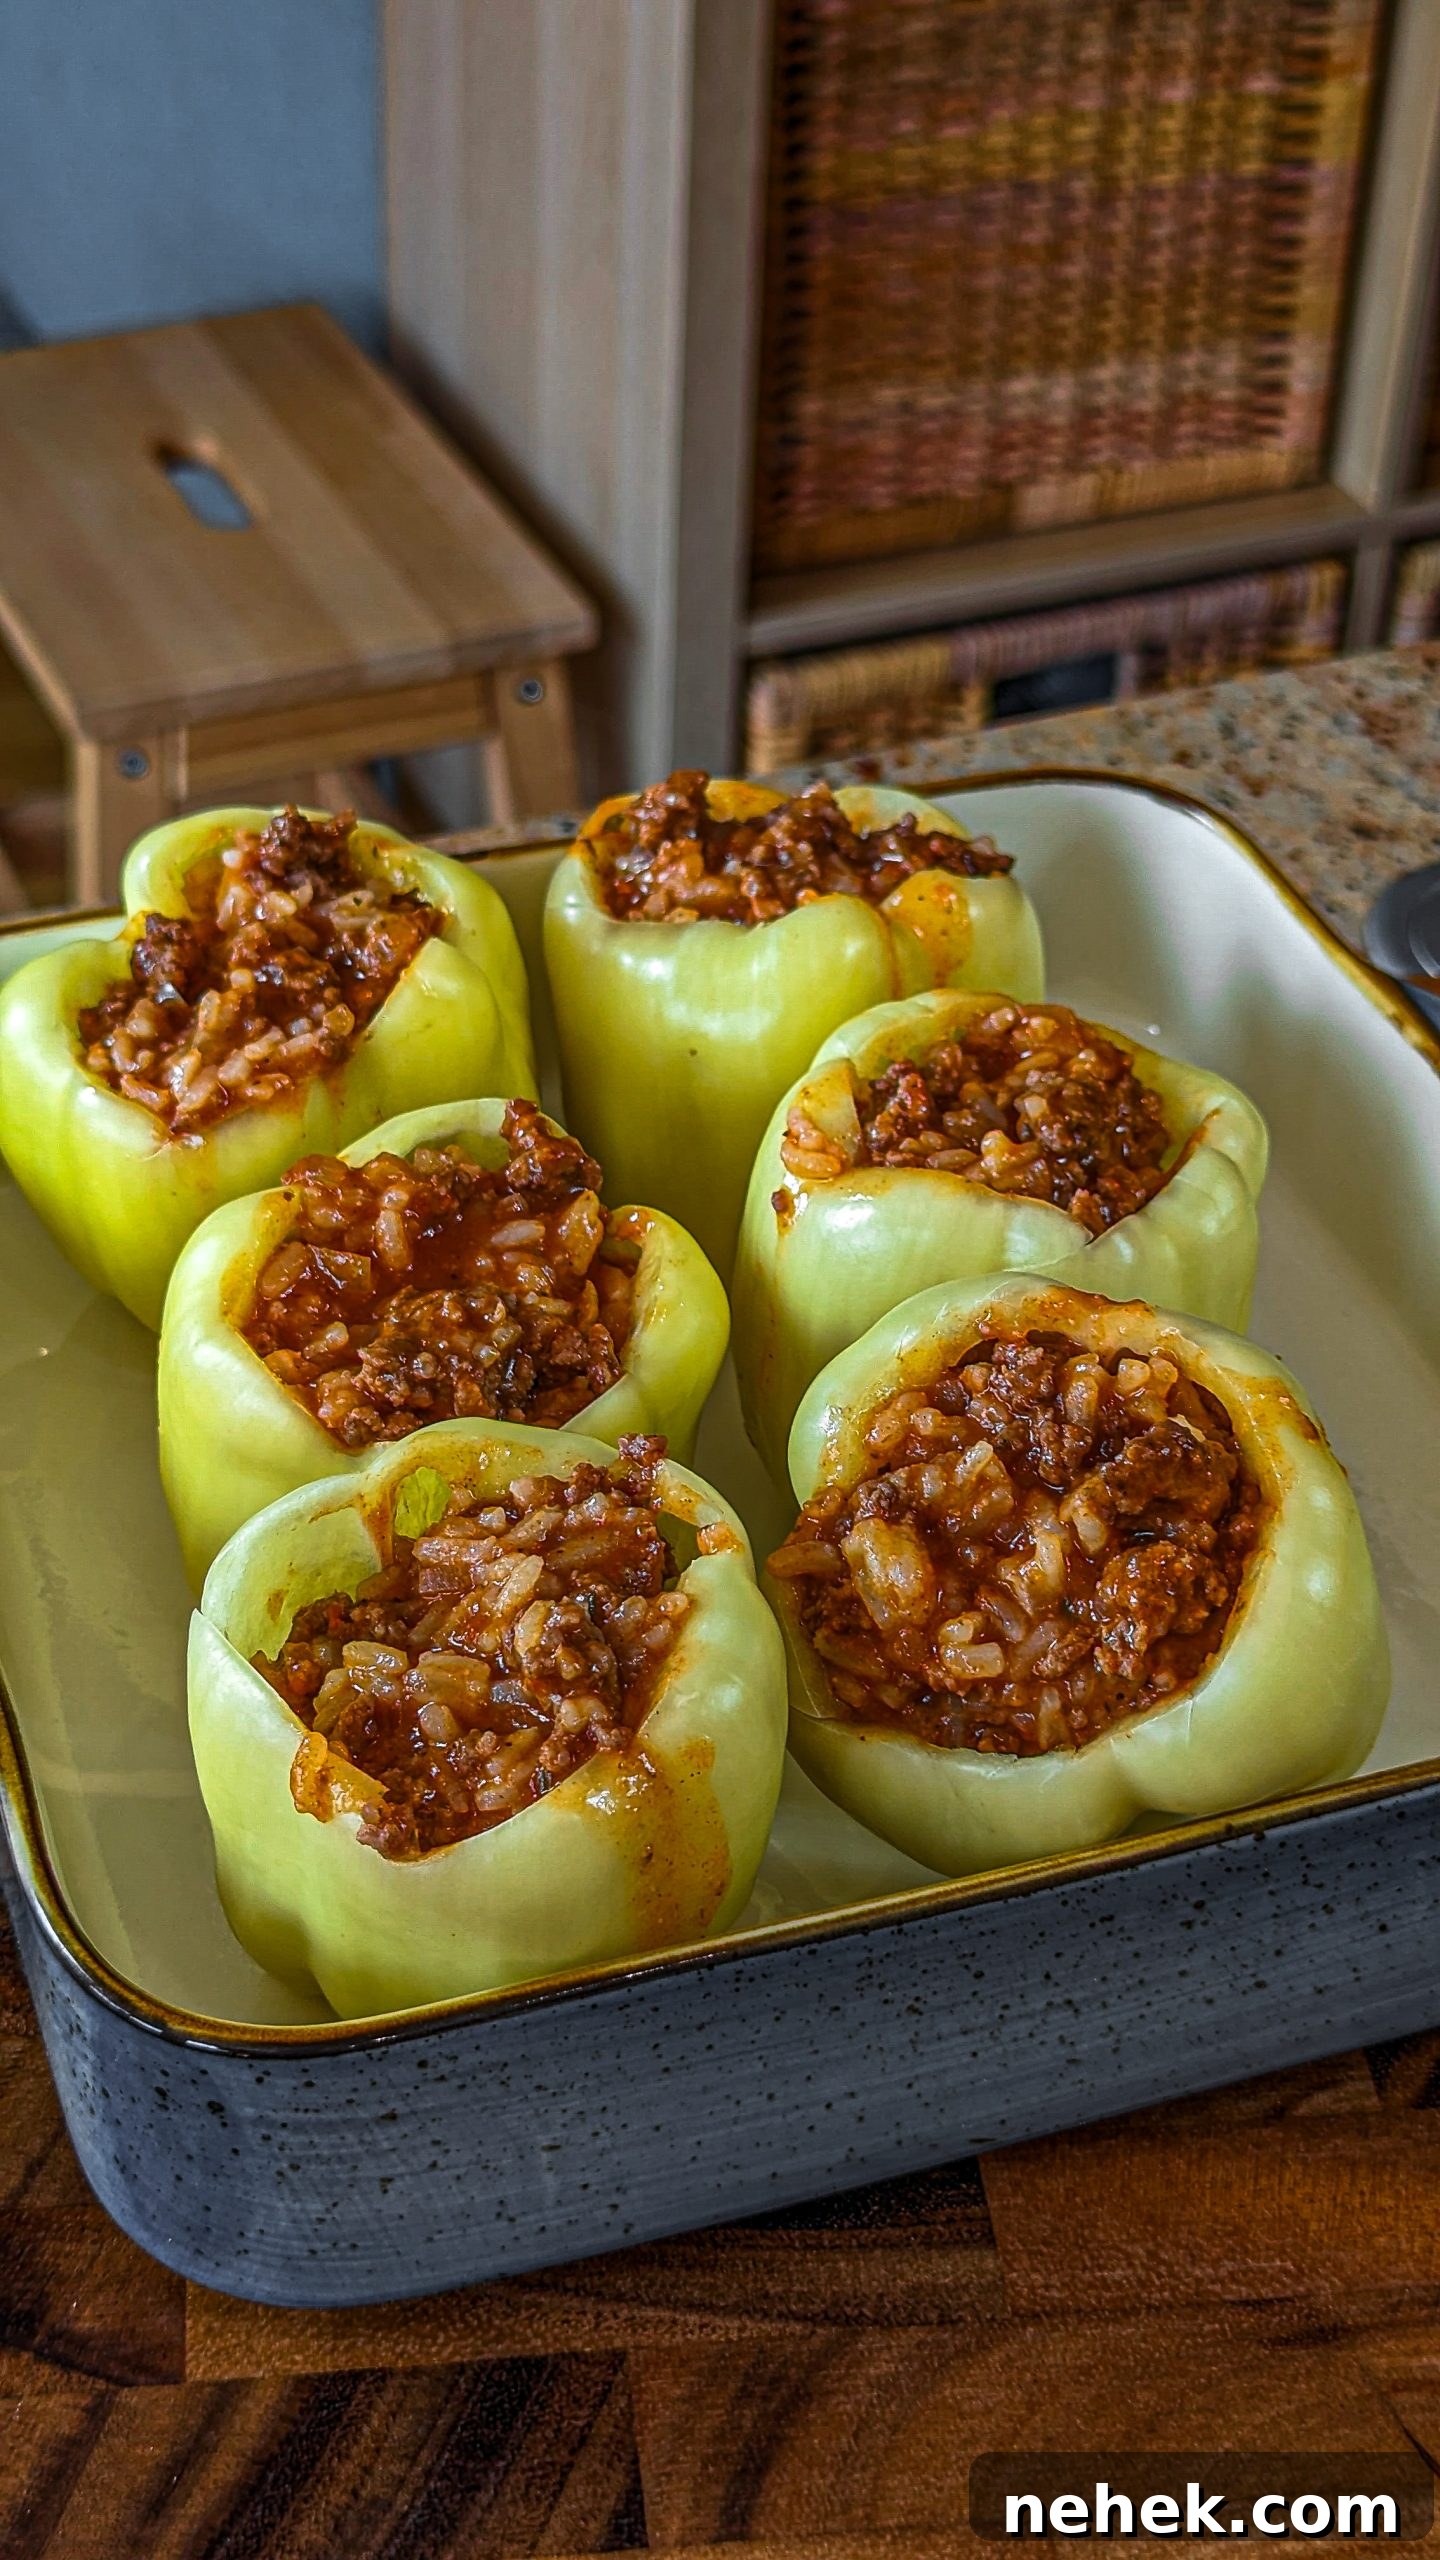
Step 13. Sprinkle the remaining cheese over the stuffed peppers. Cover with foil and bake for 20 minutes.
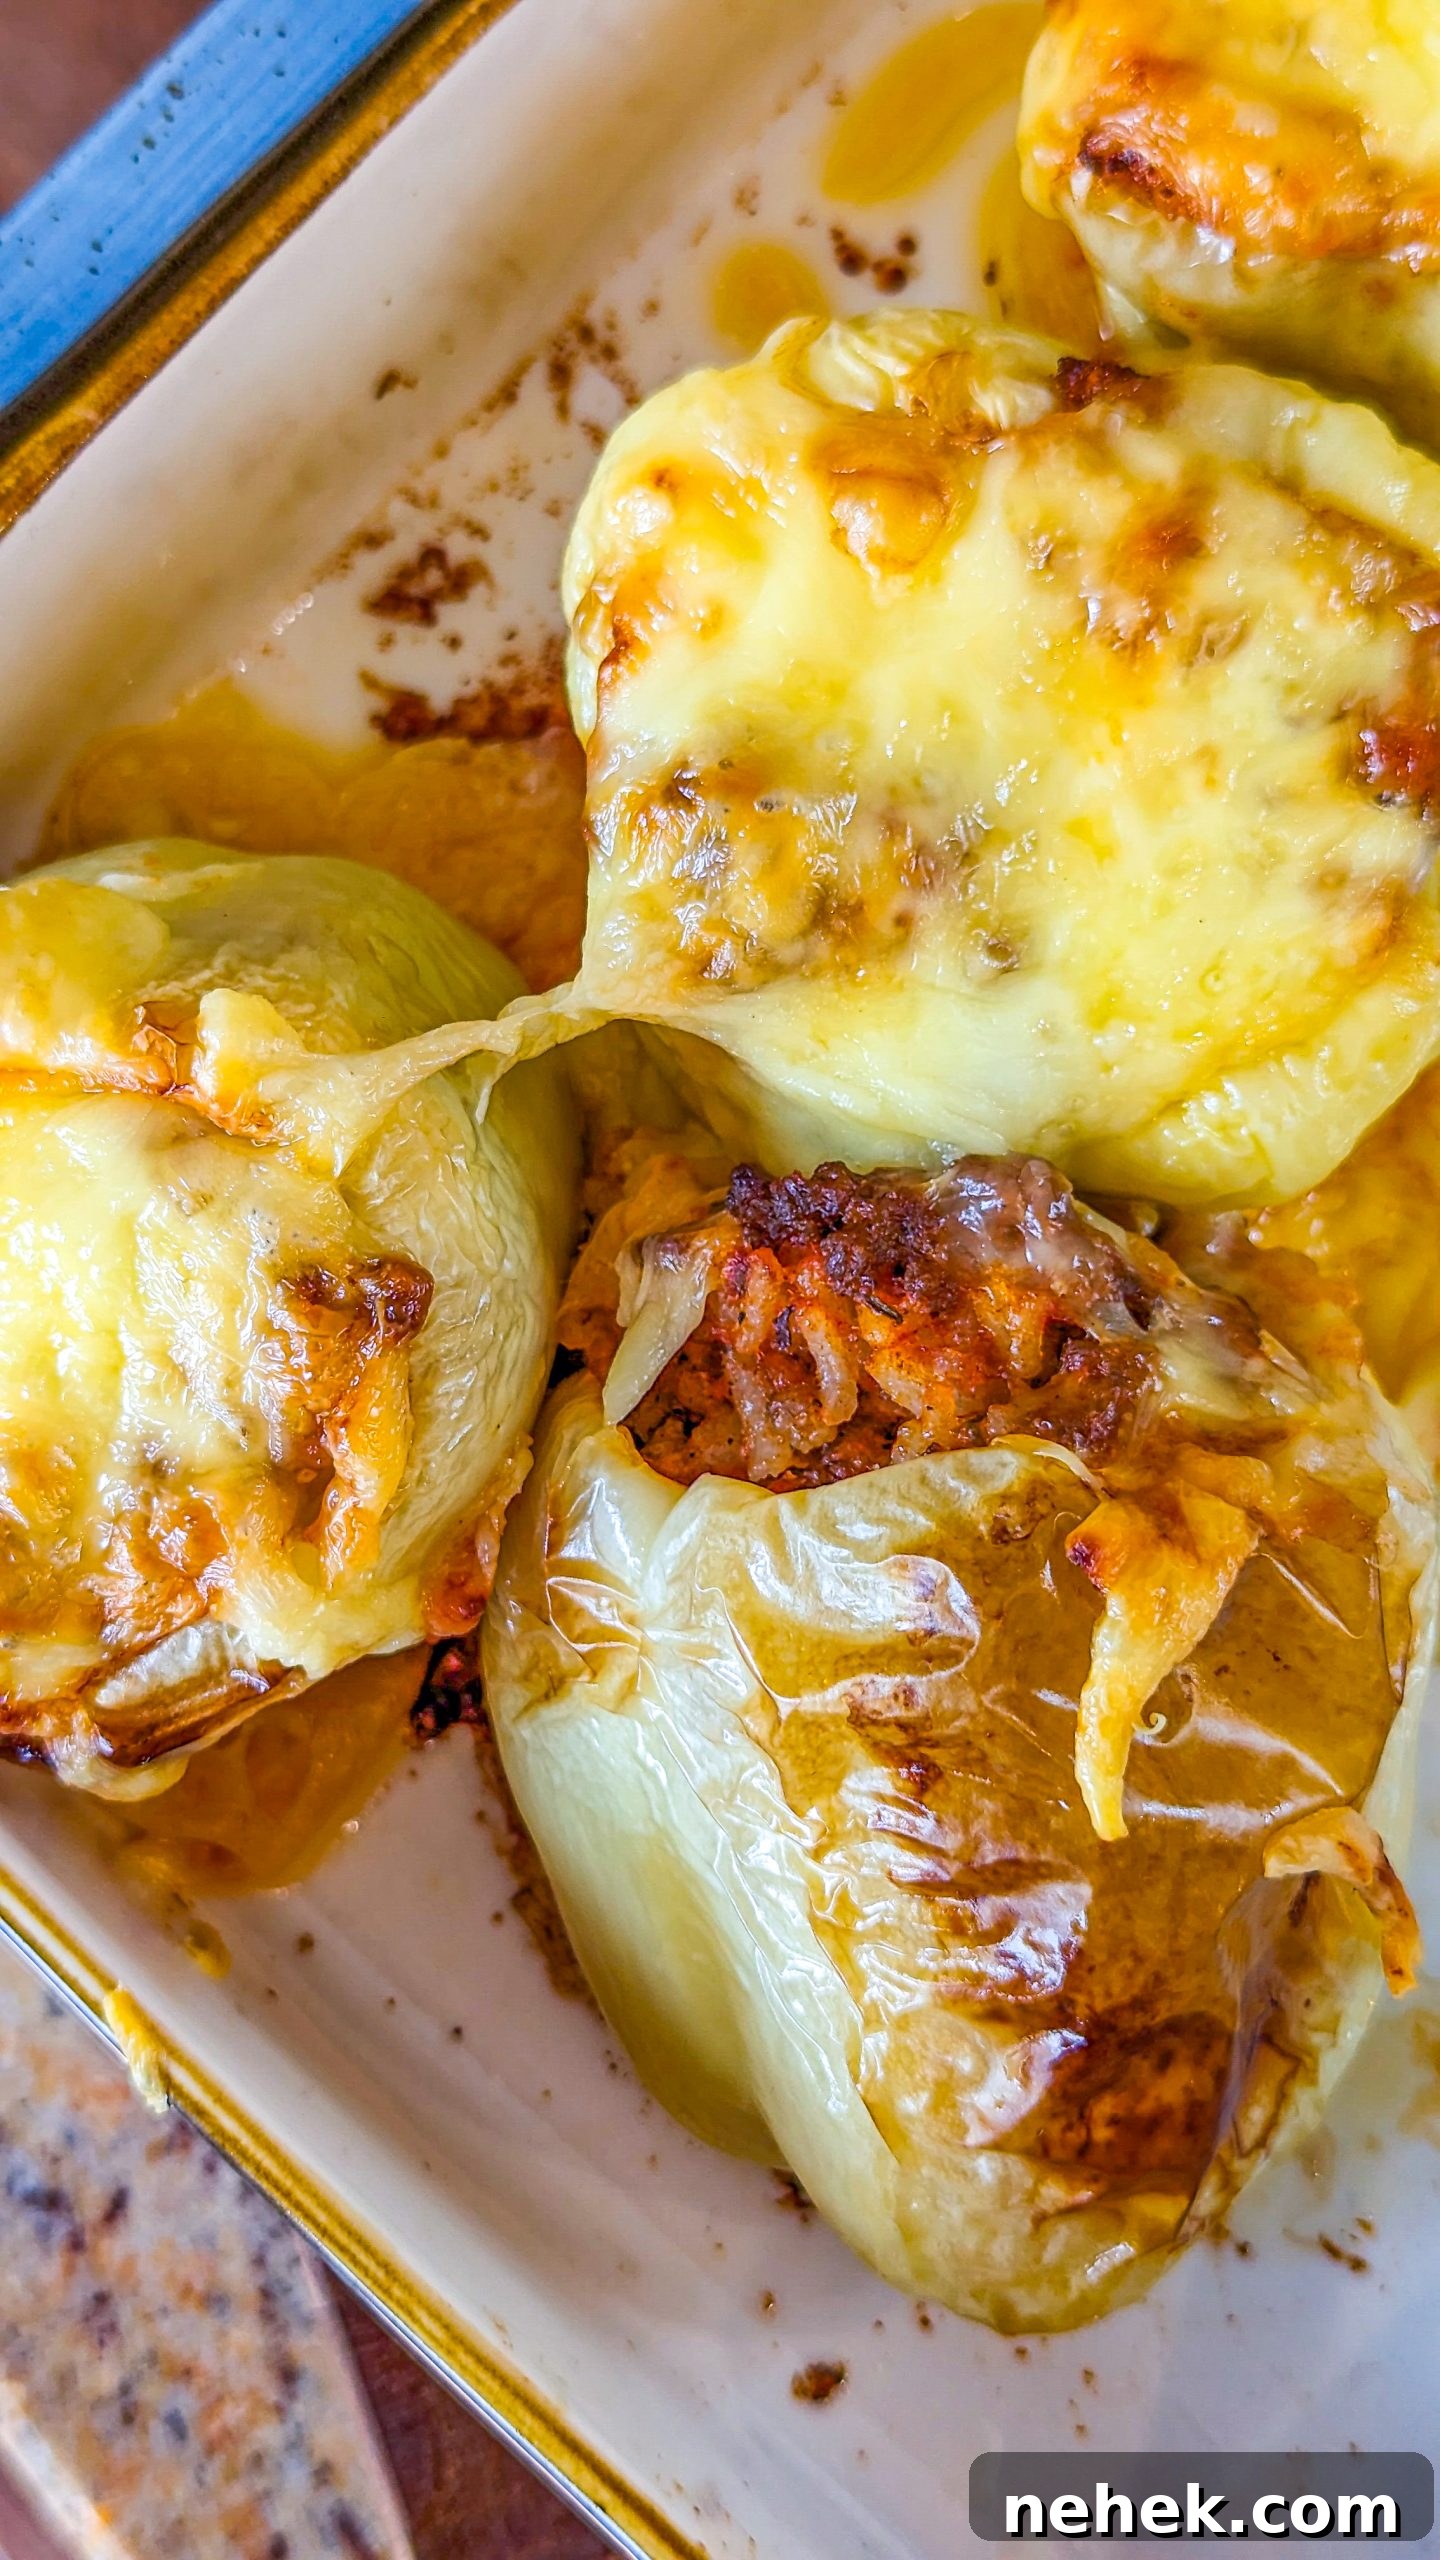
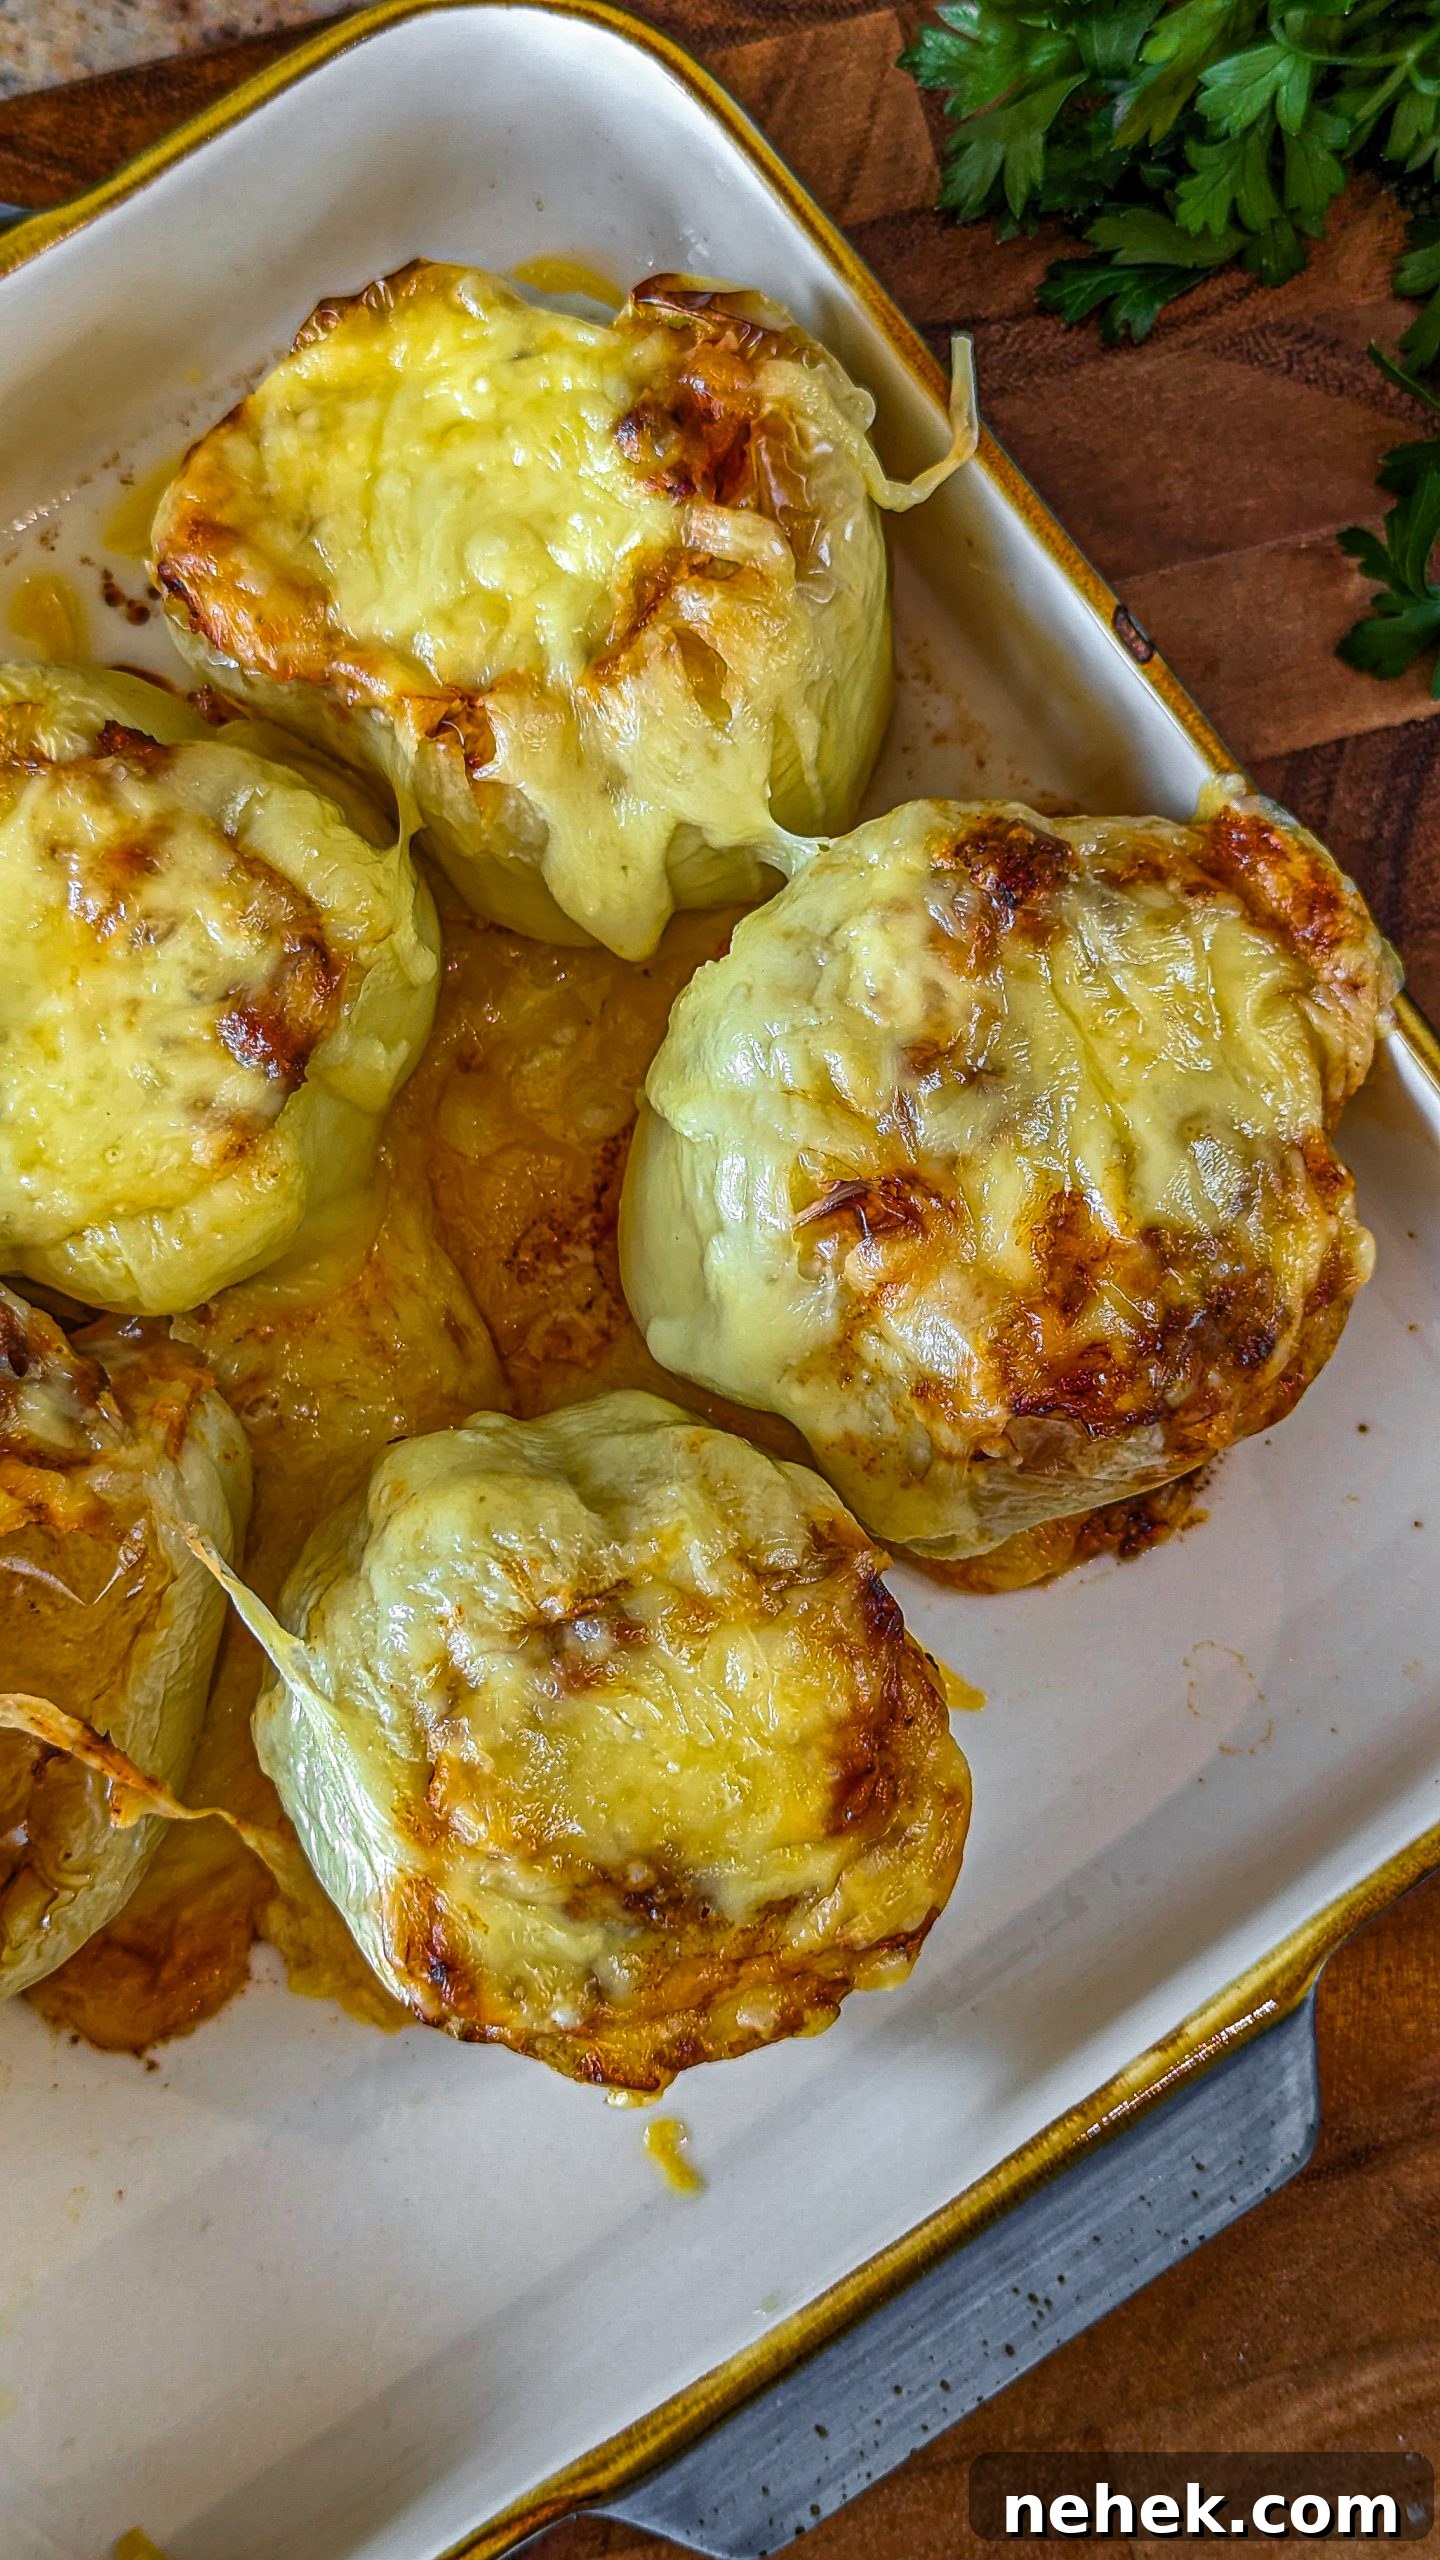
Step 14. Remove the foil and bake an additional 10 minutes, or until peppers are tender and cheese is melted and golden.
Step 15. Garnish with chopped parsley and serve warm.
Notes and Variations:
Swap cooked rice for couscous, pearl barley, or small pasta shapes. For a lower-carb option, use cauliflower rice or increase the vegetables in the filling — mushrooms, zucchini, or summer squash work well. Use your favorite shredded cheese or a blend for different flavors.
Stuffed Bell Peppers
Ingredients
- 6 bell peppers any color or a combination of colors
- 2 teaspoons olive oil
- 1 1/2 pounds ground beef
- 1/2 cup onion finely chopped
- 2 teaspoons garlic minced
- 1 1/2 cups cooked white rice
- salt and pepper to taste
- 15 ounce can tomato sauce
- 1/2 teaspoon Italian seasoning
- 1 1/2 cups mozzarella cheese shredded divided use
- 2 tablespoons parsley chopped
- cooking spray
Method
-
Preheat the oven to 350°F.
-
Remove the tops from the peppers and discard the seeds and white membrane.
-
Arrange the peppers open-side down in a baking dish coated with cooking spray and add 1½ cups of water to the dish.
-
Cover with foil and bake for about 25 minutes.
-
While peppers bake, prepare the filling.
-
Heat oil in a skillet and brown the ground beef, seasoning with salt and pepper.
-
Cook until no pink remains, about 5 minutes.
-
Add onion and cook 4 minutes, stirring frequently.
-
Add garlic and cook for 30 seconds.
-
Stir in cooked rice, Italian seasoning, and tomato sauce until well combined.
-
Mix in ½ cup mozzarella and season to taste.
-
Drain the water from the baked peppers, turn them upright, and stuff with the filling.
-
Top with remaining cheese, cover with foil, and bake 20 minutes.
-
Remove foil and bake an additional 10 minutes, until peppers are tender and cheese is melted.
-
Garnish with parsley and serve.
Notes
Use cooked couscous, barley, or small pasta instead of rice. For a lower-carb option, try cauliflower rice or add extra vegetables like mushrooms and zucchini. Swap cheeses to change the flavor profile.
PIN this recipe on Pinterest for later 🙂